I have recently begun to create jewellery working with Silver, both Sterling Silver and Art Clay Silver, as well as little gemstones and beads. It has been a steep learning curve and I am still exploring and learning the many and varied techniques of the media. I am thoroughly enjoying the process thus far and am being inspired to new ideas everyday.
The part of the creative process I am most enjoying is working with Art Clay Silver. This material allows me to work with this precious silver, but in a more sculptural fashion.
For those of you not familiar with Art Clay Silver, it is as it sounds, a clay made from (reclaimed) particles of pure silver that are bound in an organic binder. It comes in a putty like form and texture, that allows me to create small yet intricate images.
The process is reasonably simple but intensive, to give you an idea of how it all works I recently put together a photo diary of a commission piece (with the very kind permission of my good friend for whom the piece was made).
This work was commissioned on the shores of Llyn Tegid (Lake Bala) in Wales, it was to be a talisman that would accompany a year long dedicated spiritual journey. My friend wanted an image of Ceridwen’s cauldron to keep her focused, she trusted me to find my own inspiration the only stipulation she had was that it should not to be a conventional cauldron. As soon as my friend had finished presenting me with her request, another friend was drawing my attention to the view out over the lake. She mused that, if you looked at the way the two gnarly old oak trees roots came together, they seem to create the image of a cauldron. Don’t you just love the way that spirit works? There it was, the image of a non conventional cauldron, with no further thought needed. I gratefully took photos of the view and they became the reference material to work from.
And here is the process laid out, step by step.
The first step is making an original image in sculpture wax.
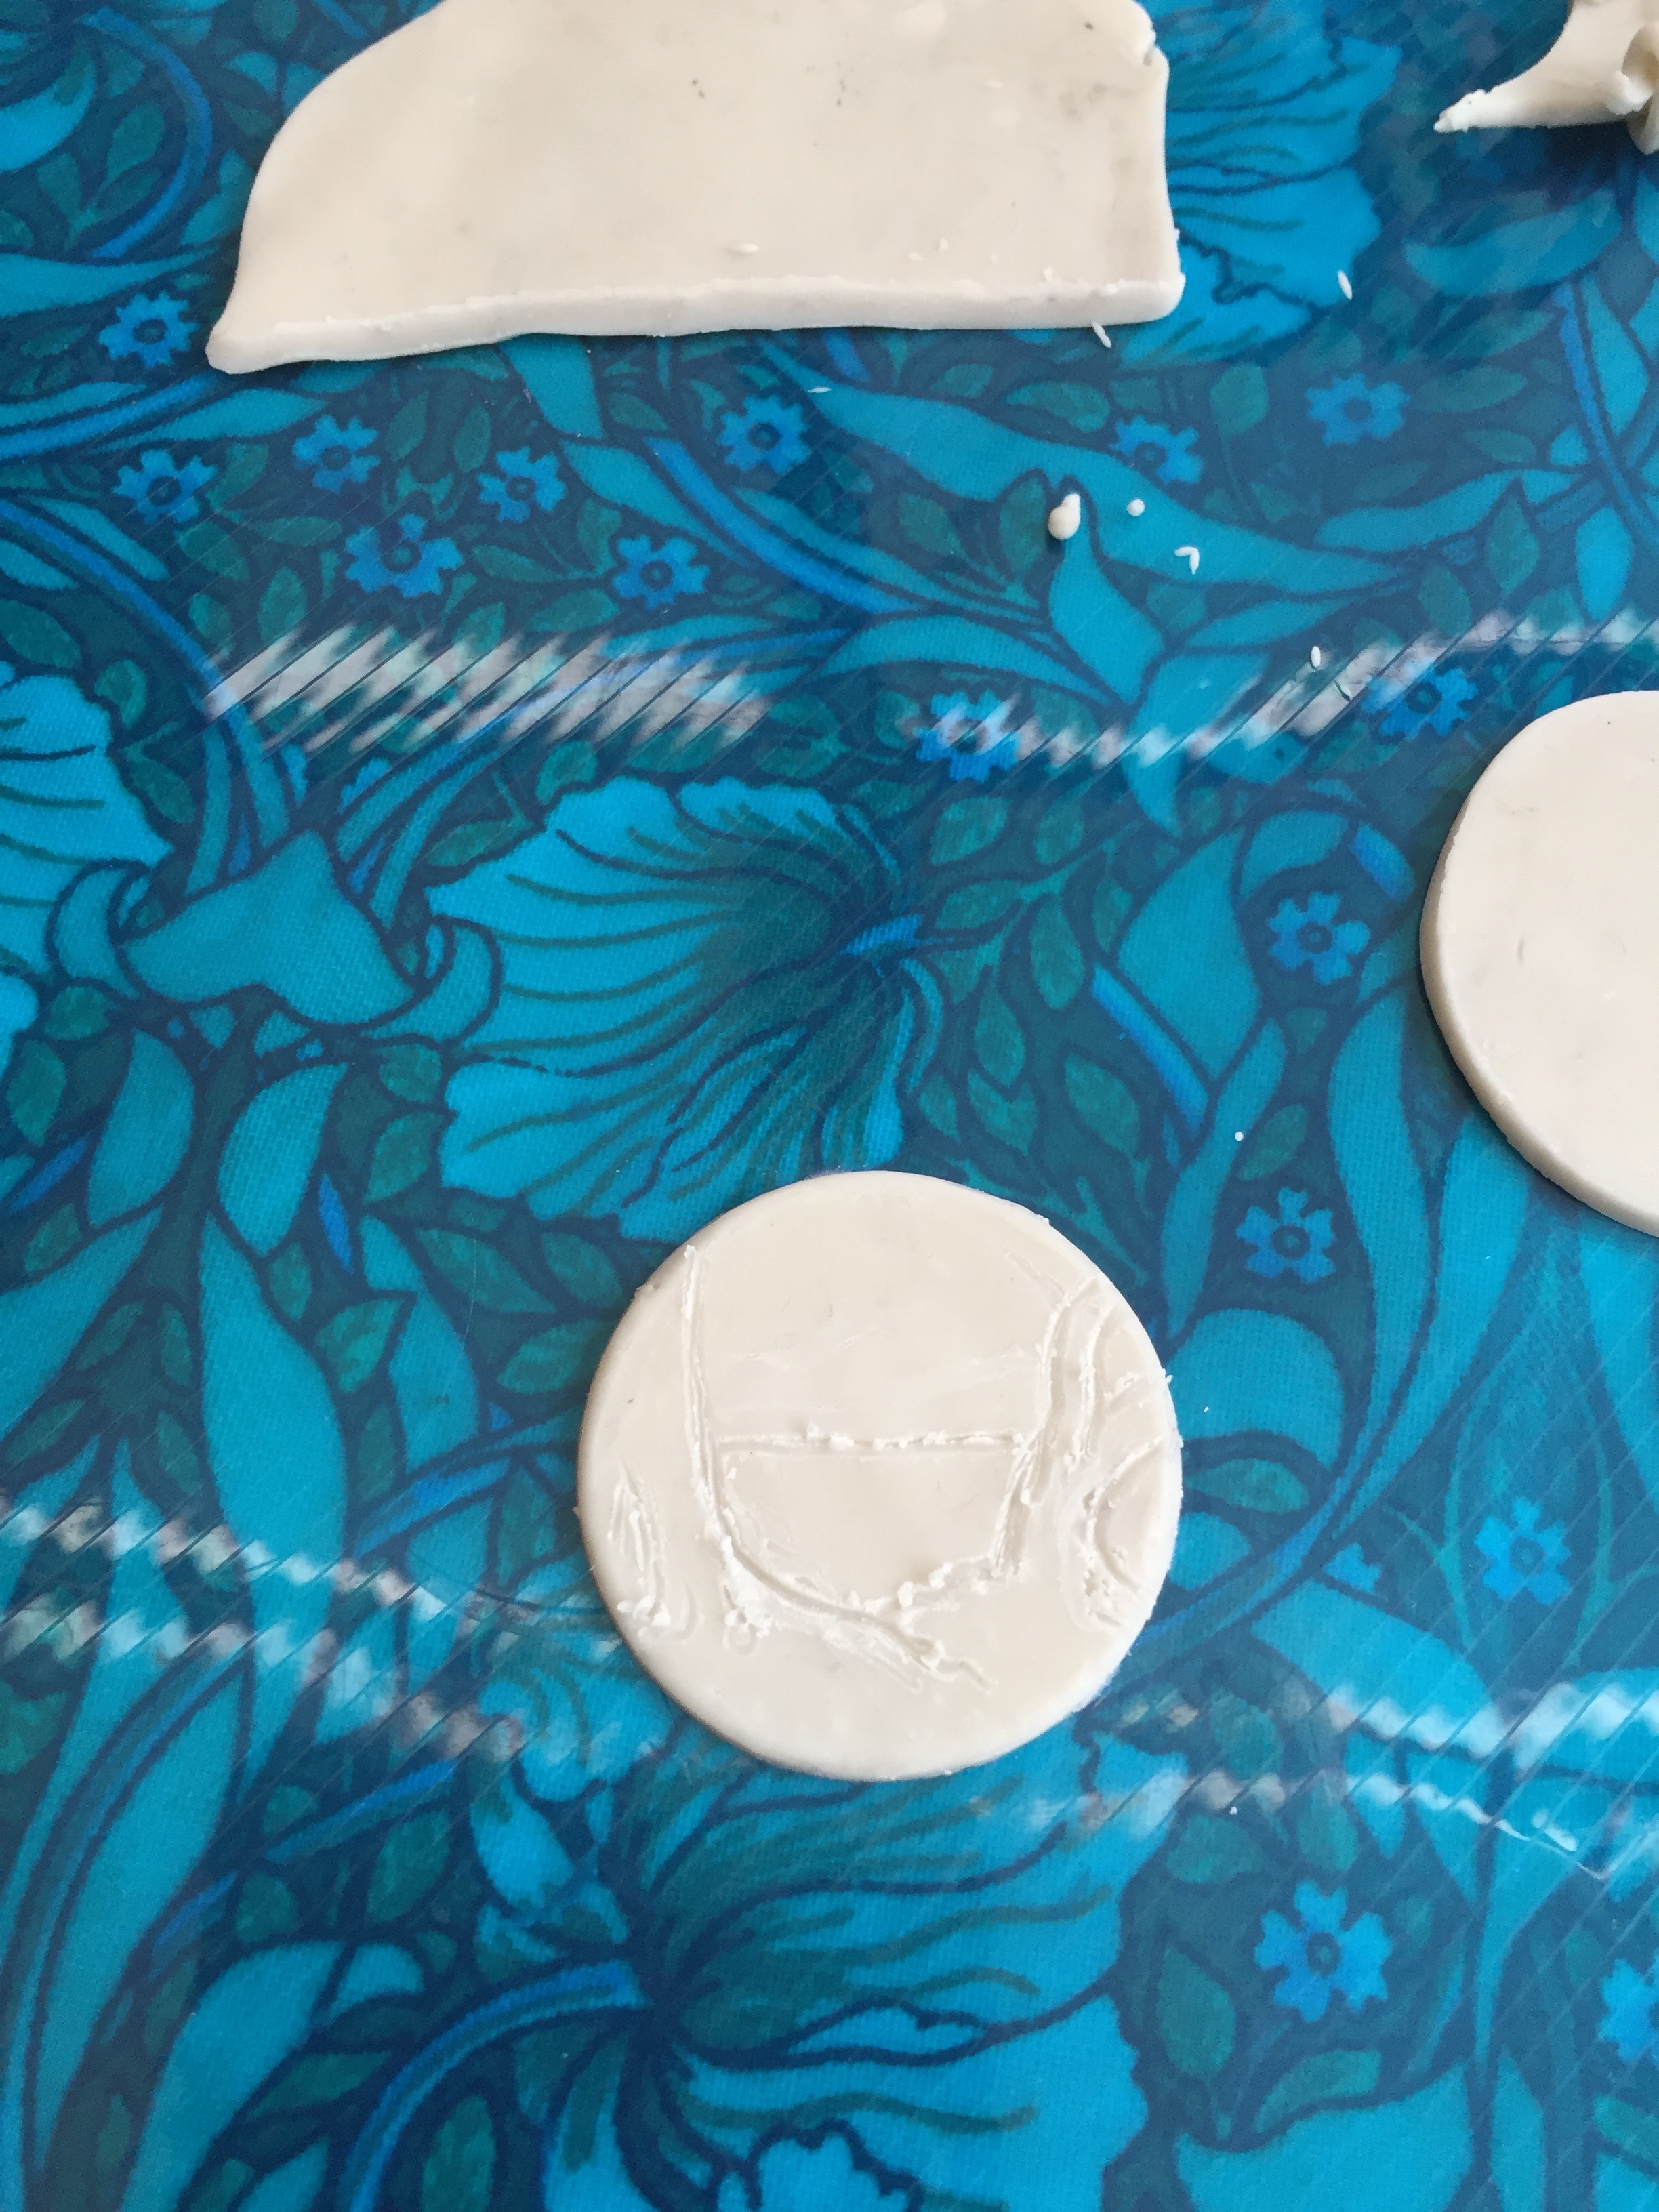
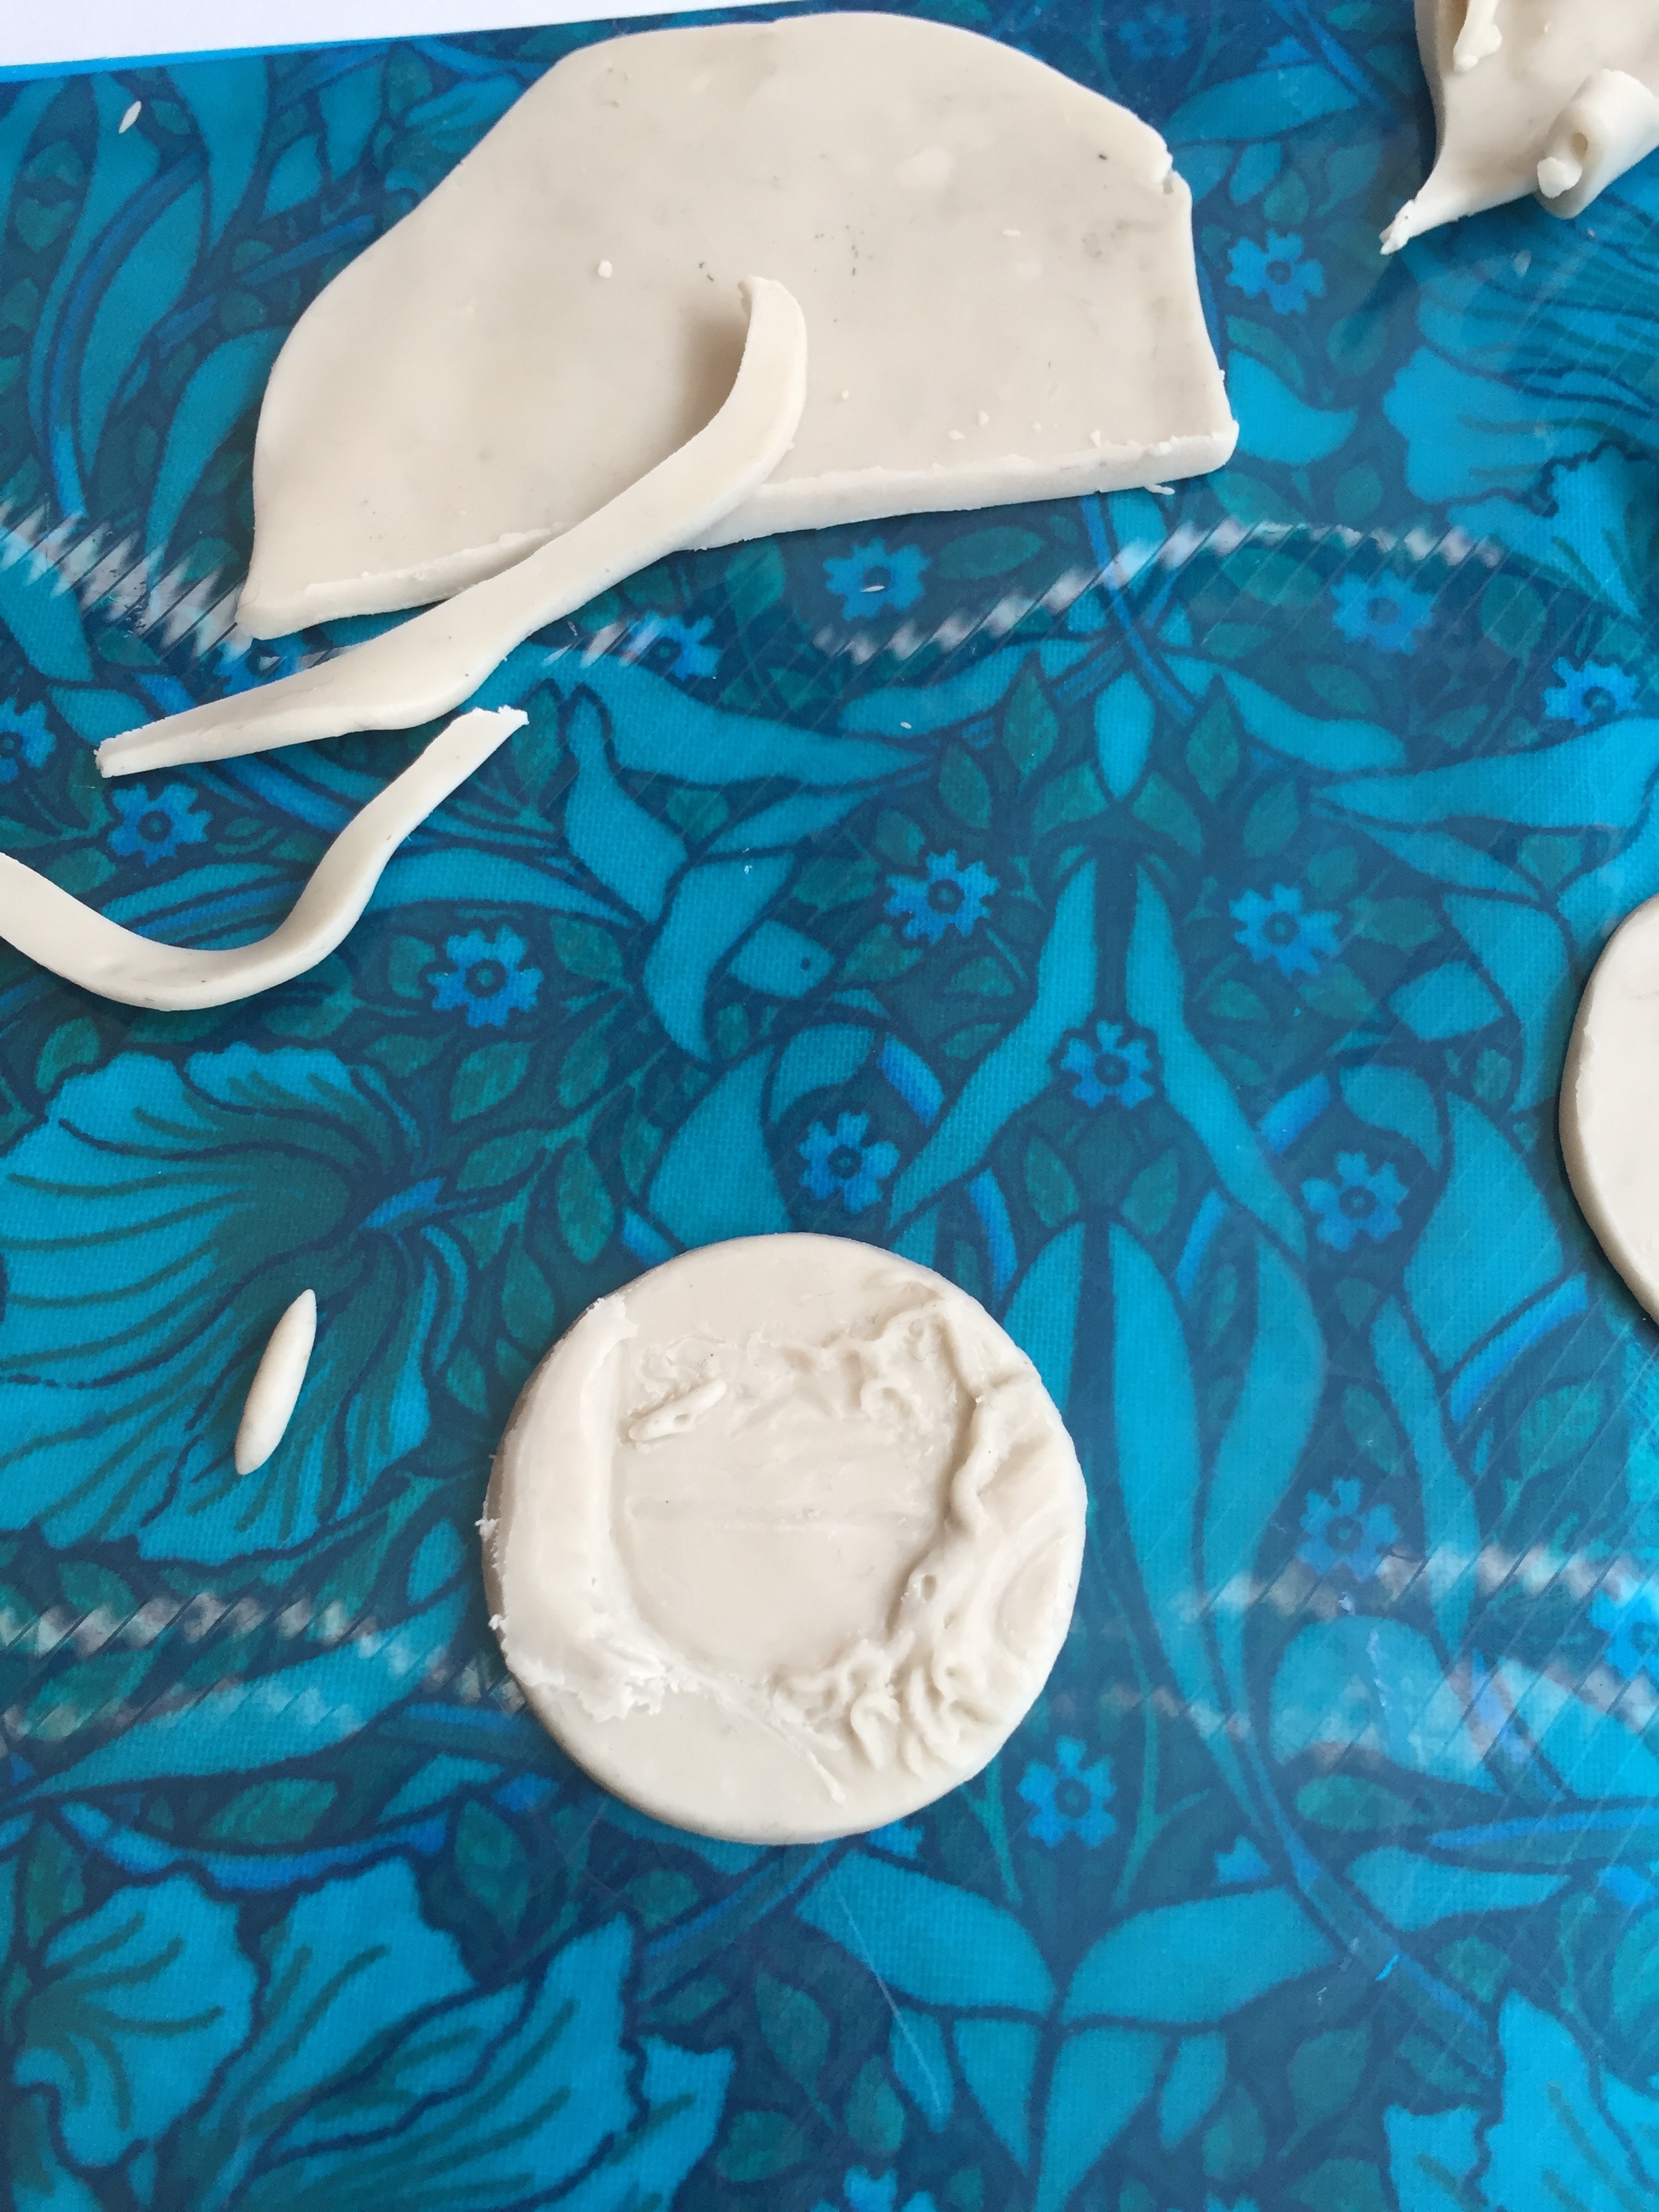
Then, after freezing the wax original for a few minutes to make sure it is nice and firm, so as not to loose the detail, I press the wax into a soft, two part silicon mix which will harden around the piece to create a mold.
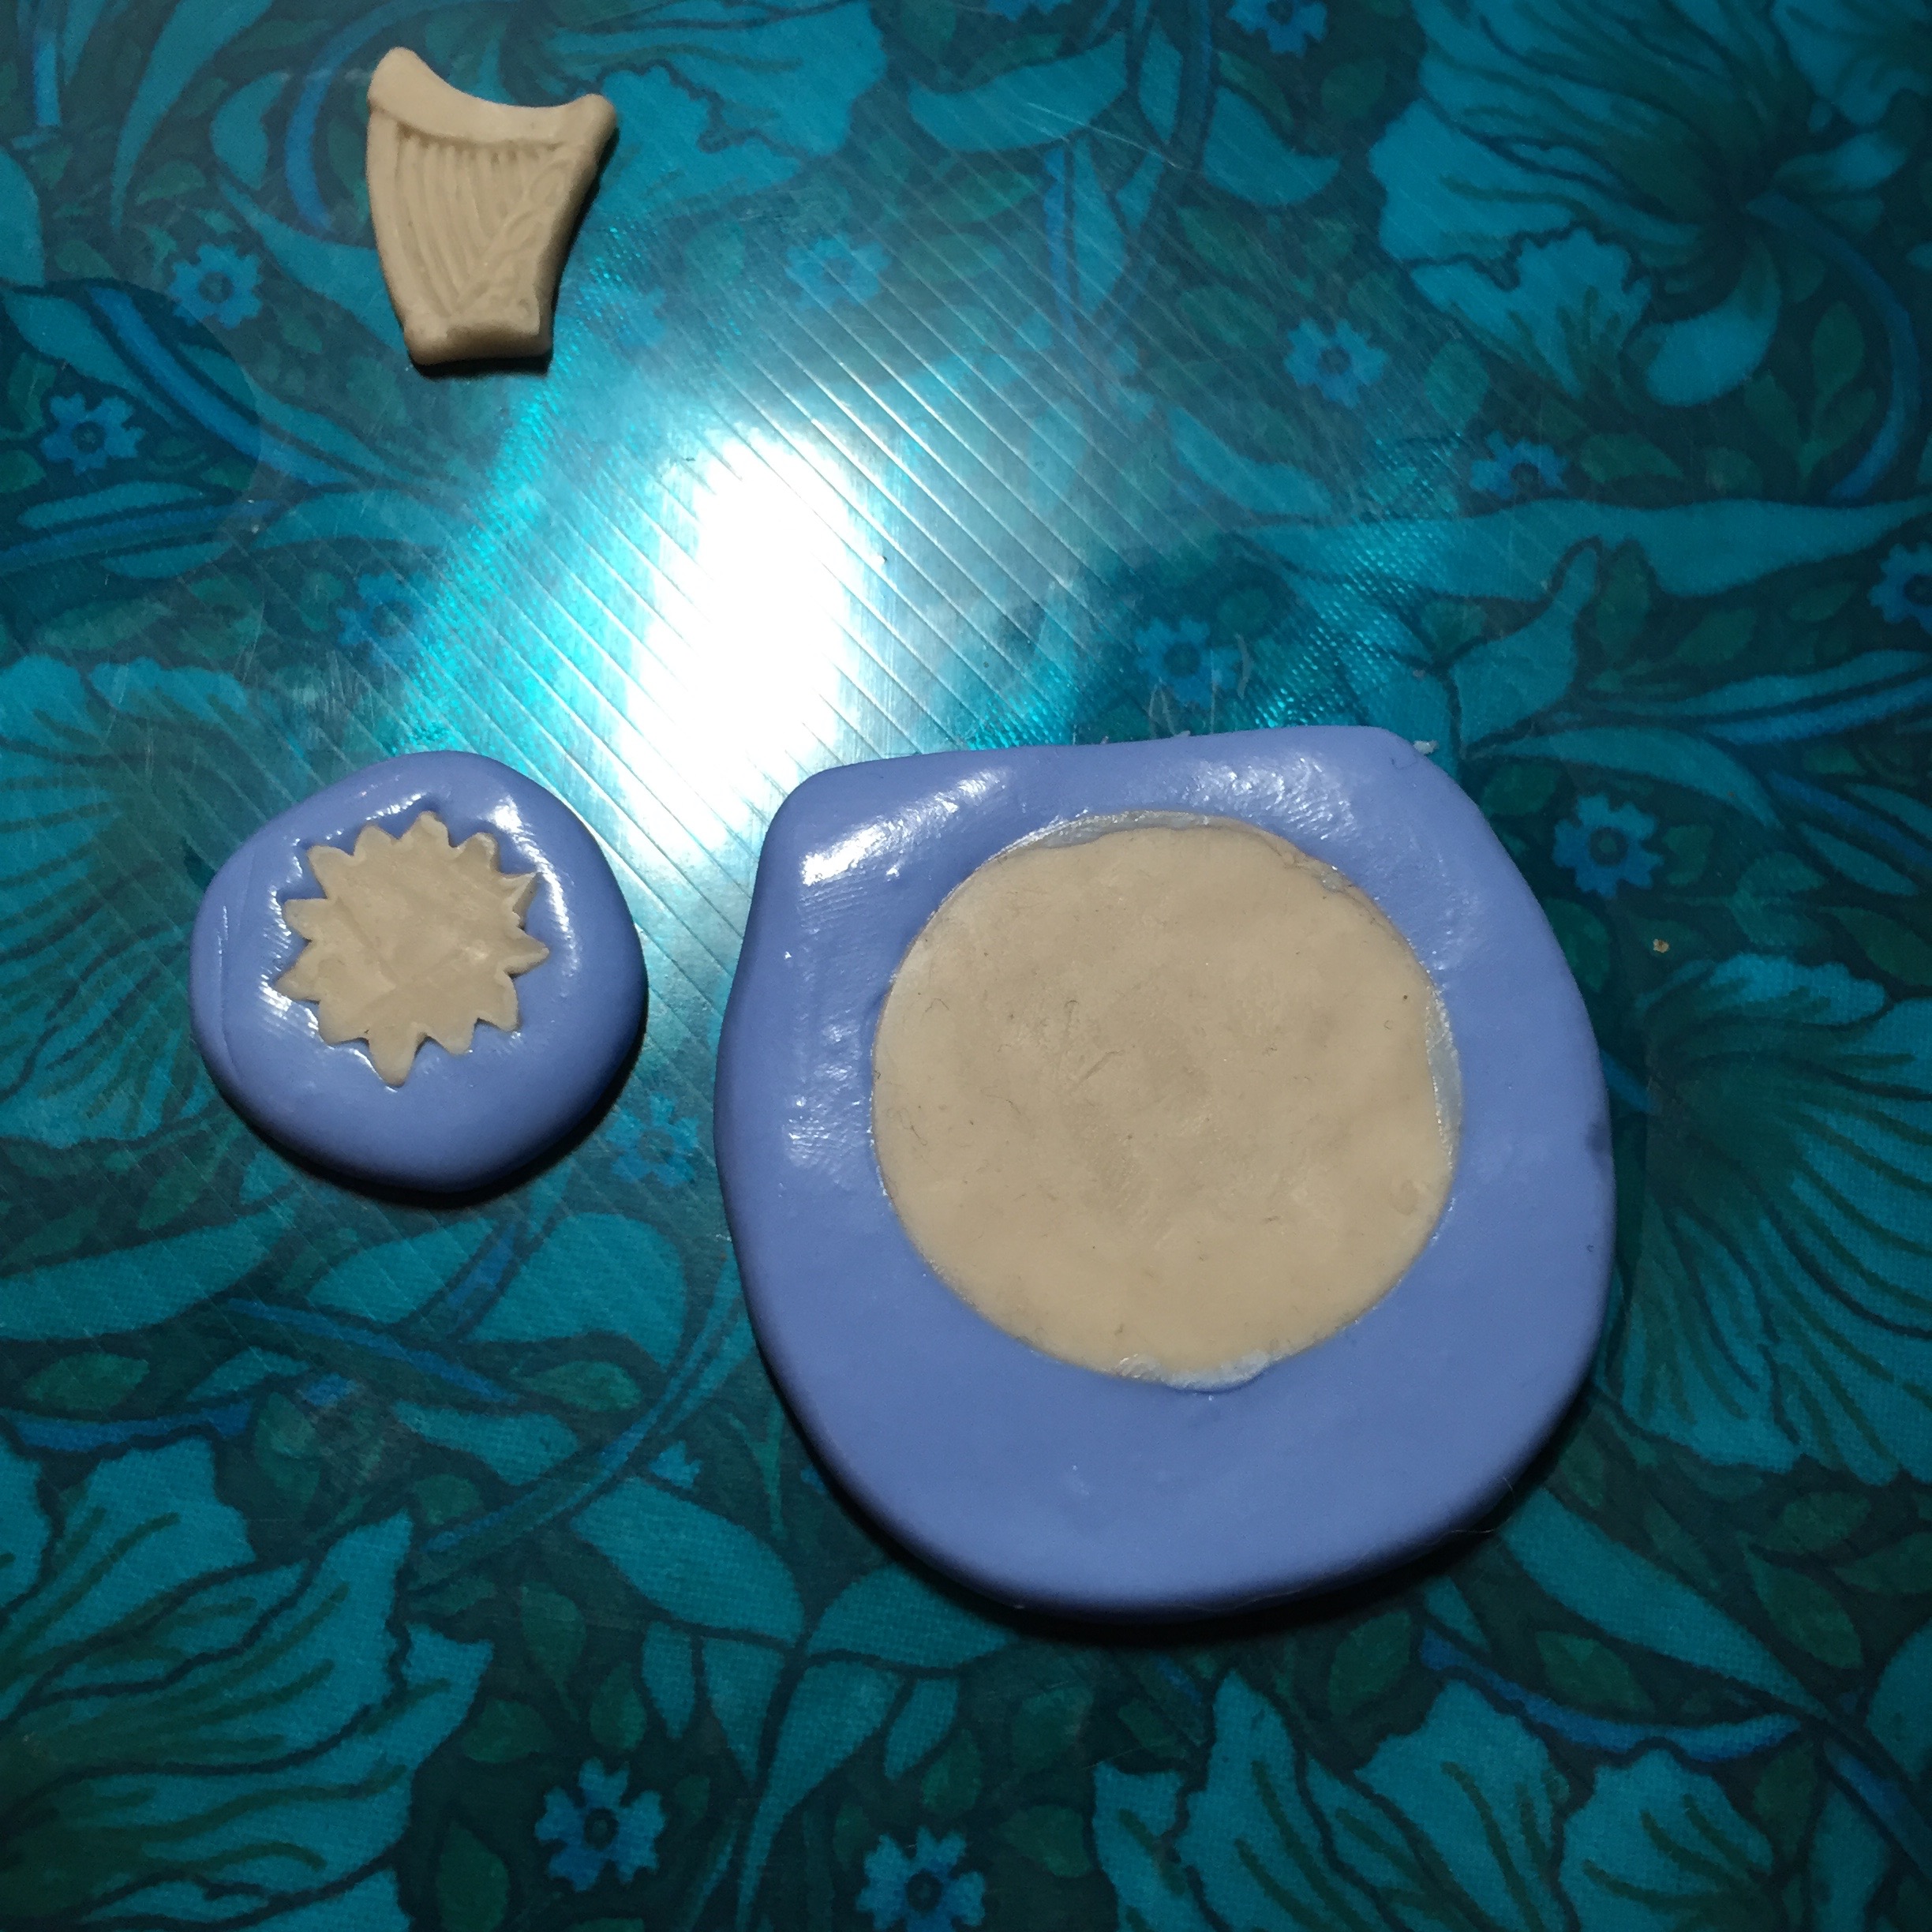
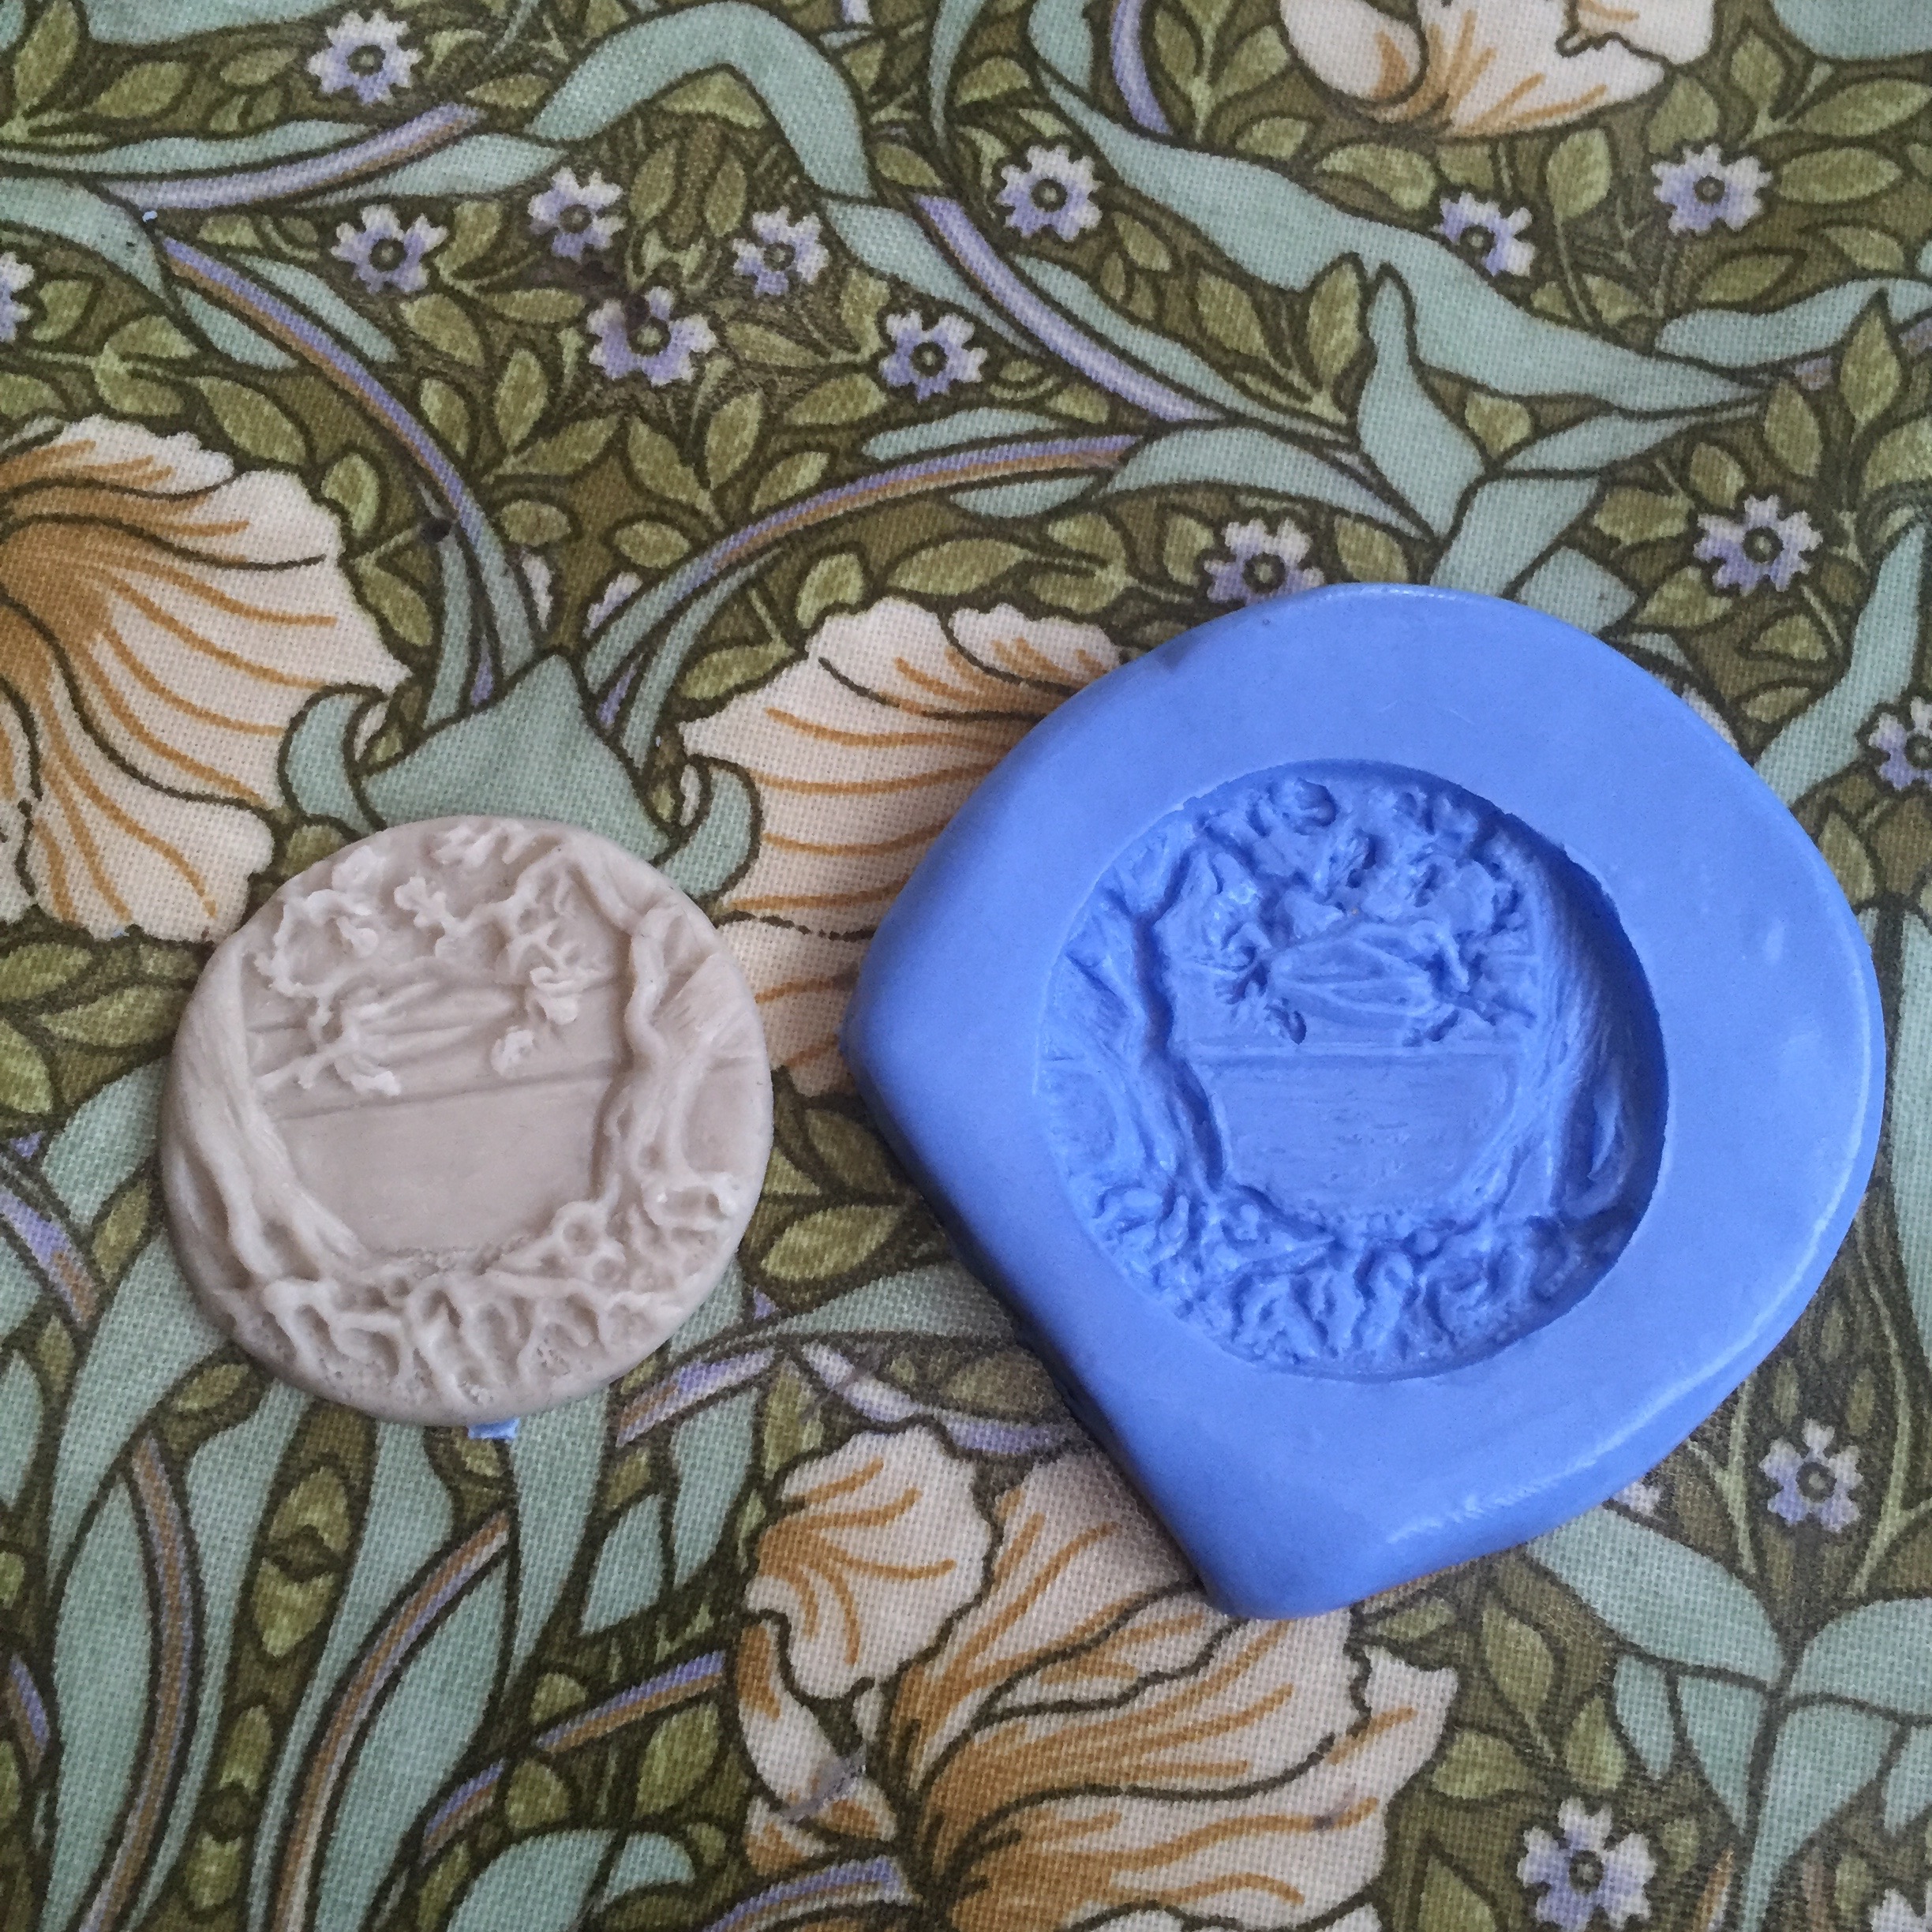
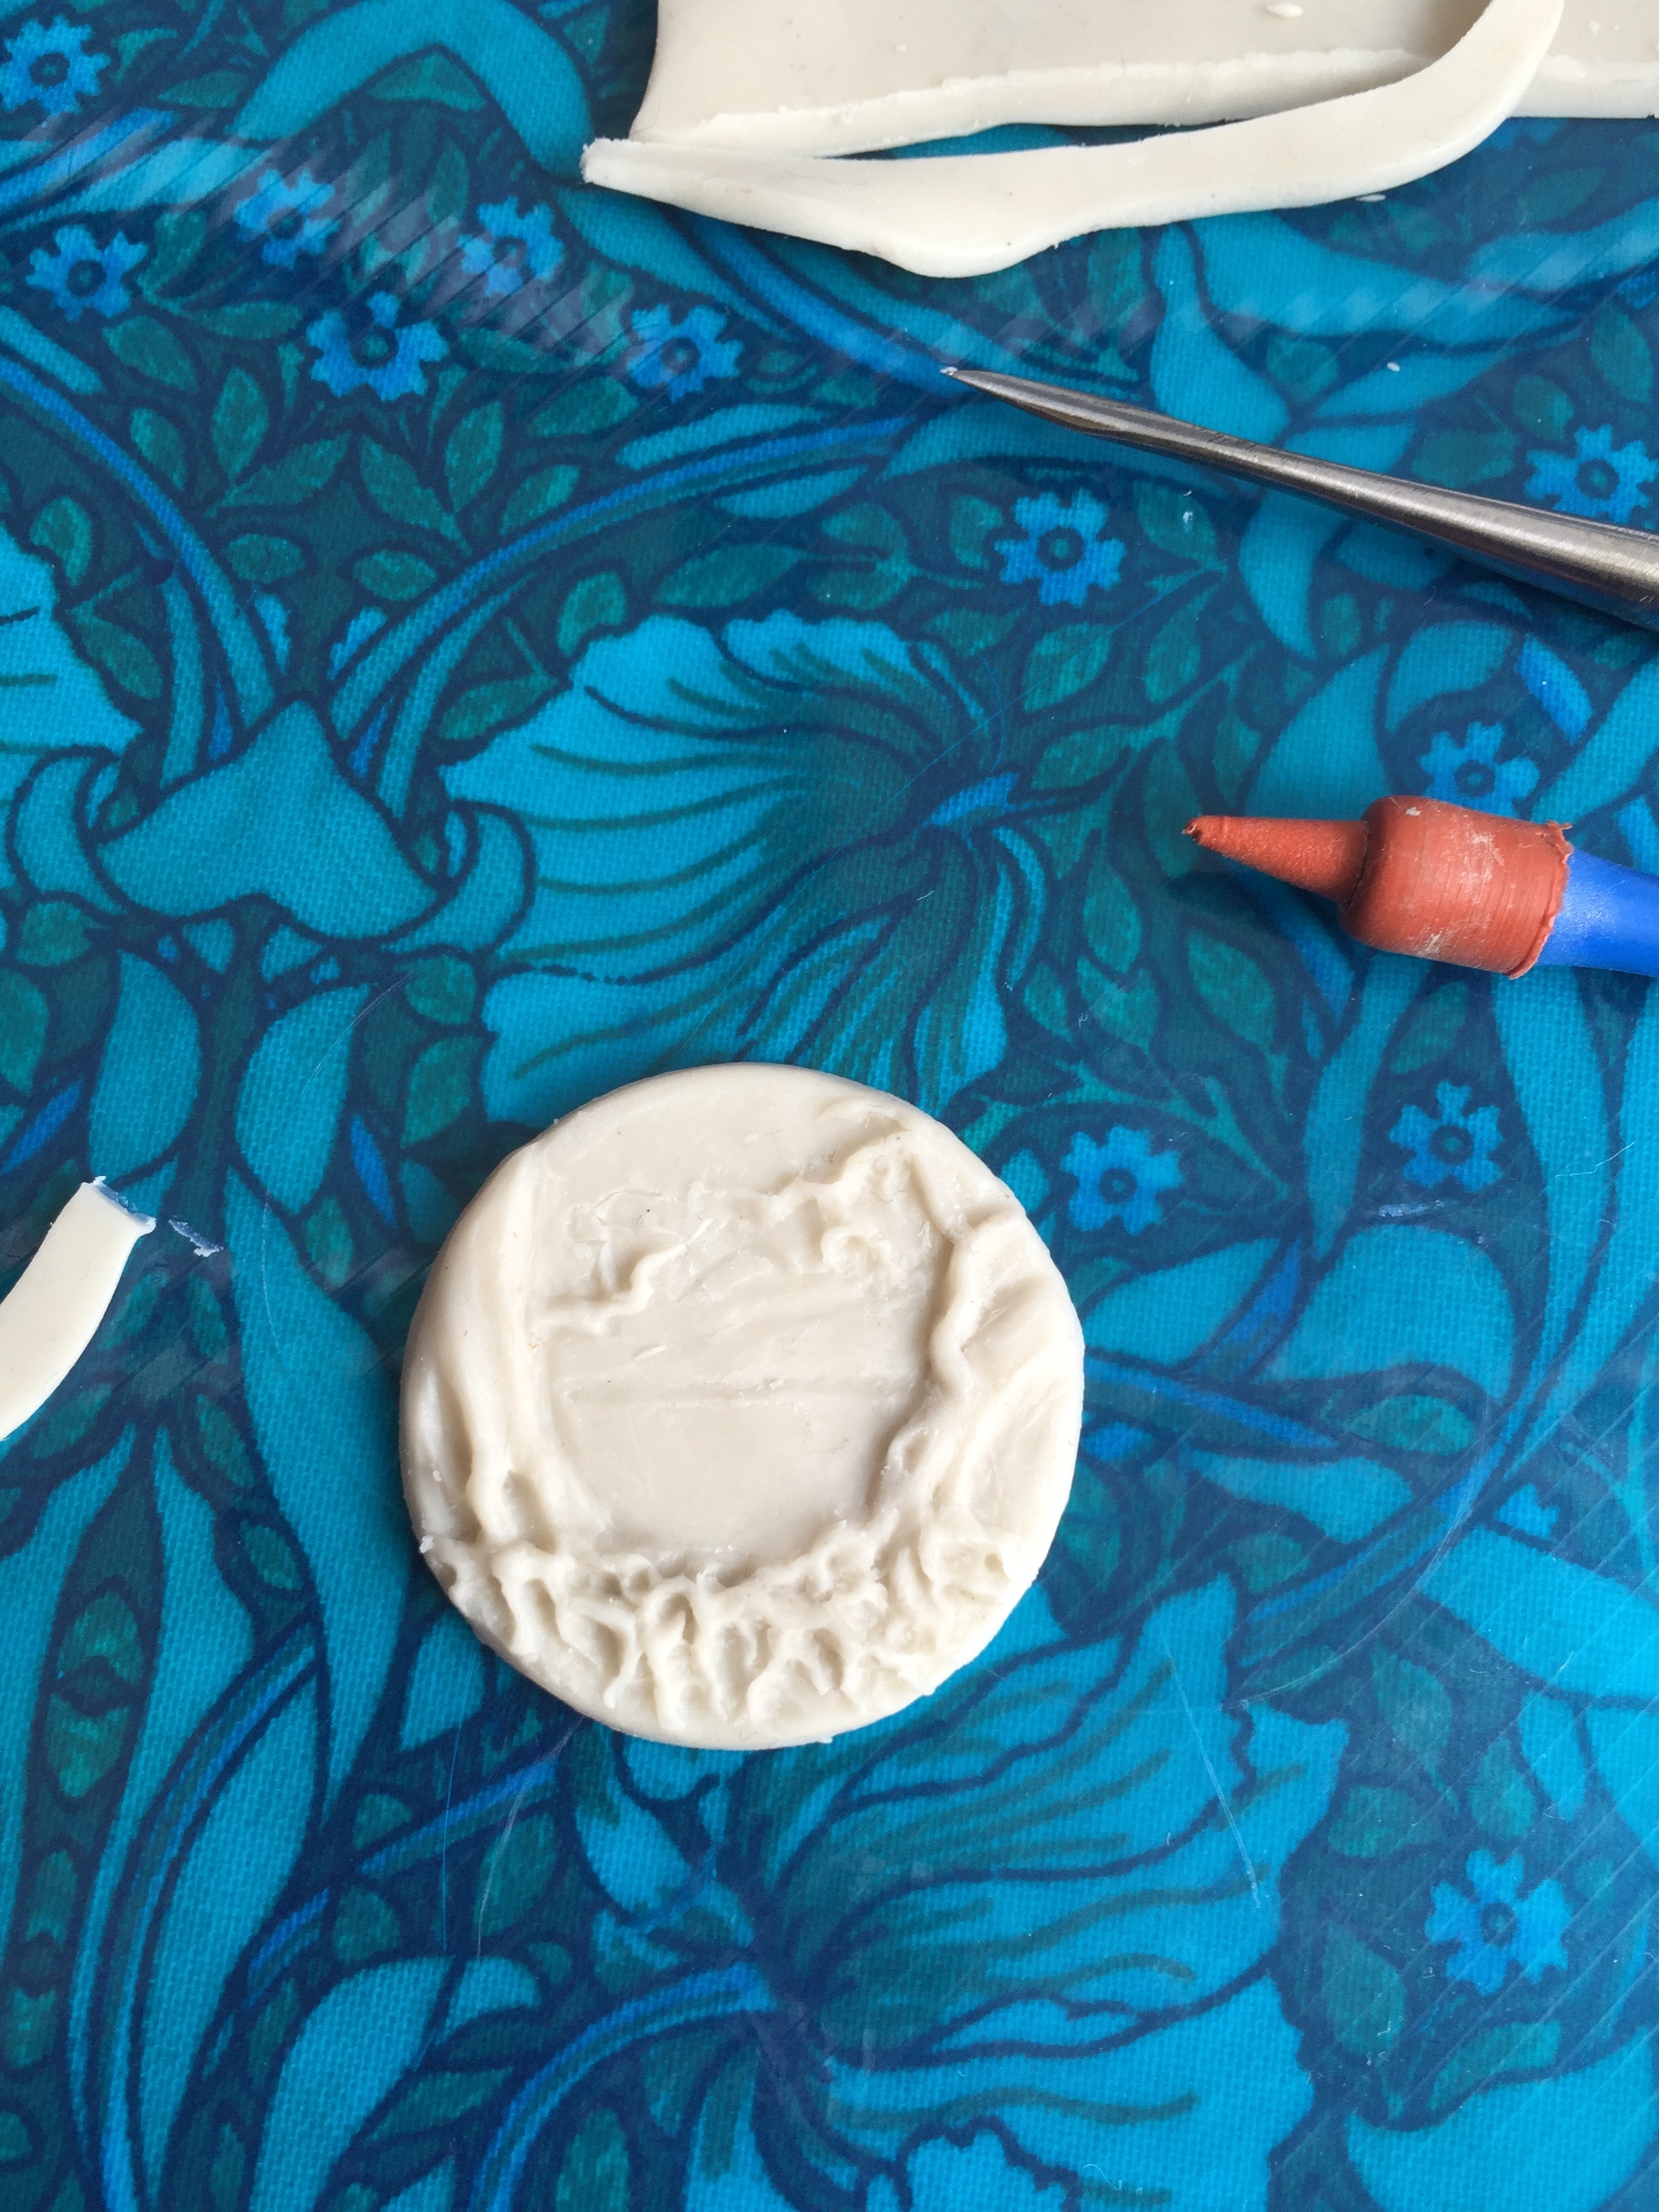
Taking the silver clay I press it into the mold, turn it out immediately, then allow it dry over night before taking time to tidy up the rough edges and make minor adjustments as necessary.
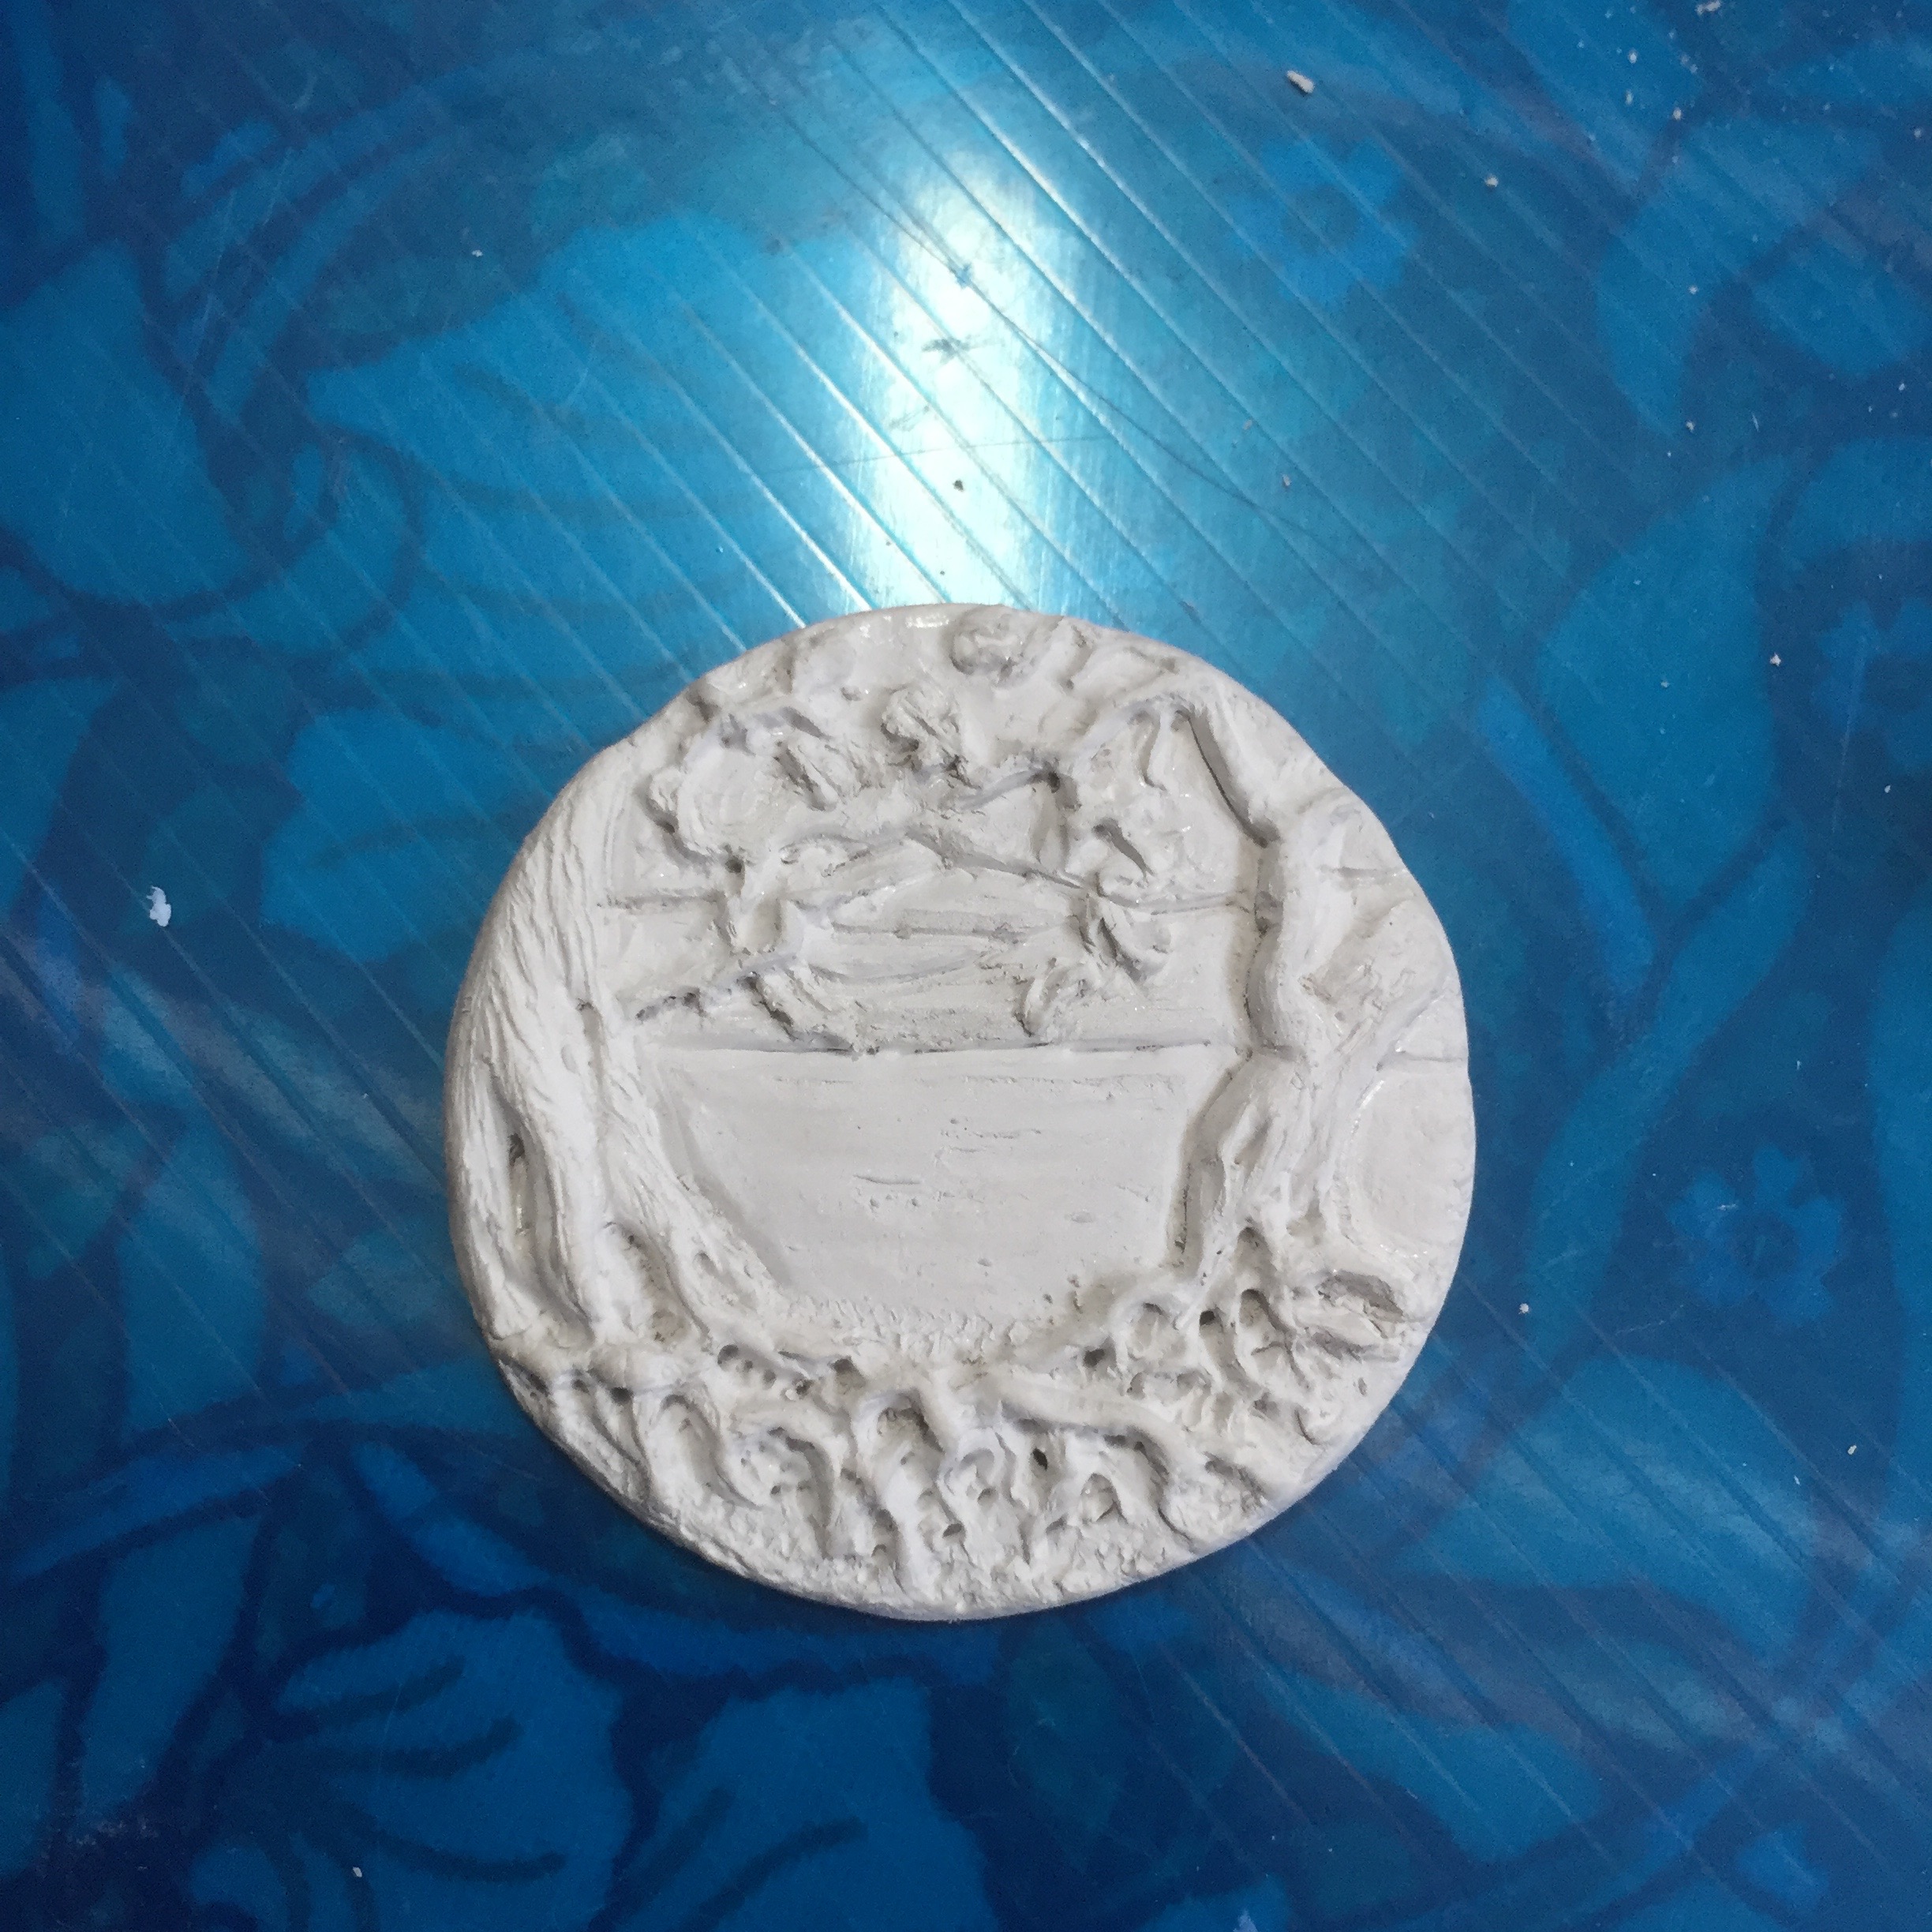
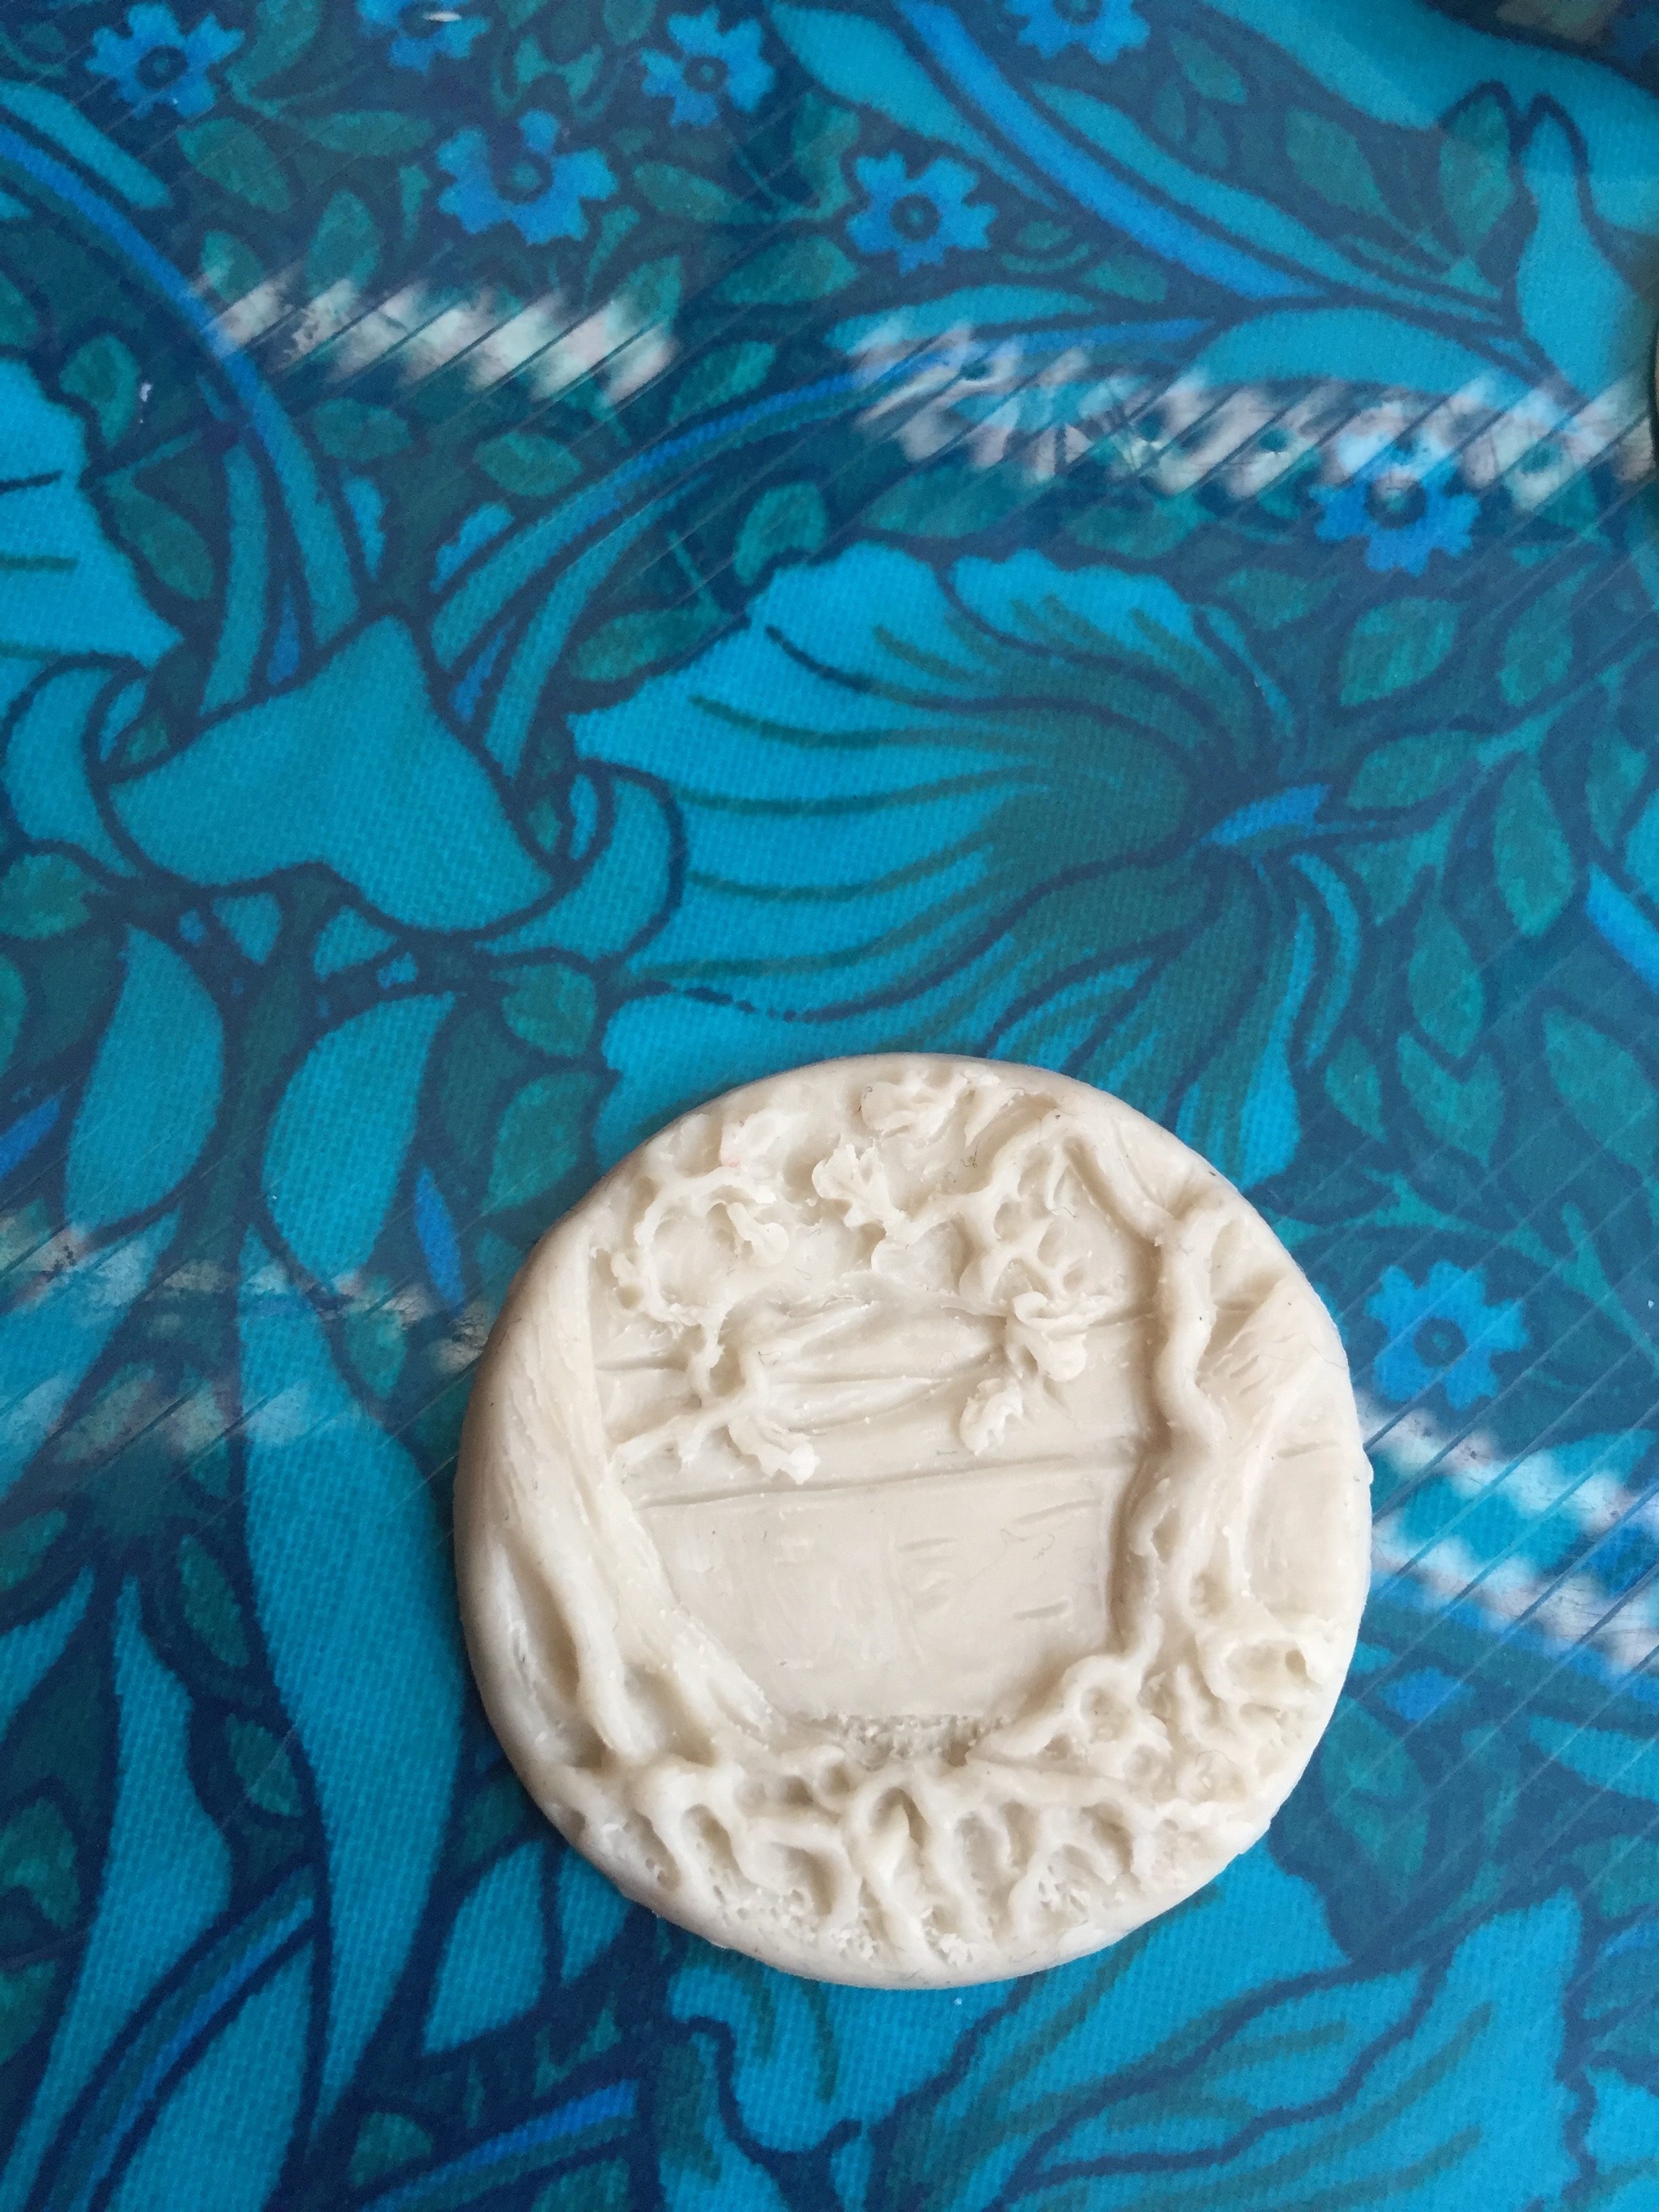
When I am happy, which can take some time, the work is ready to be fired with a blow torch, this burns away the binder to leave a piece of 99.9% pure silver.
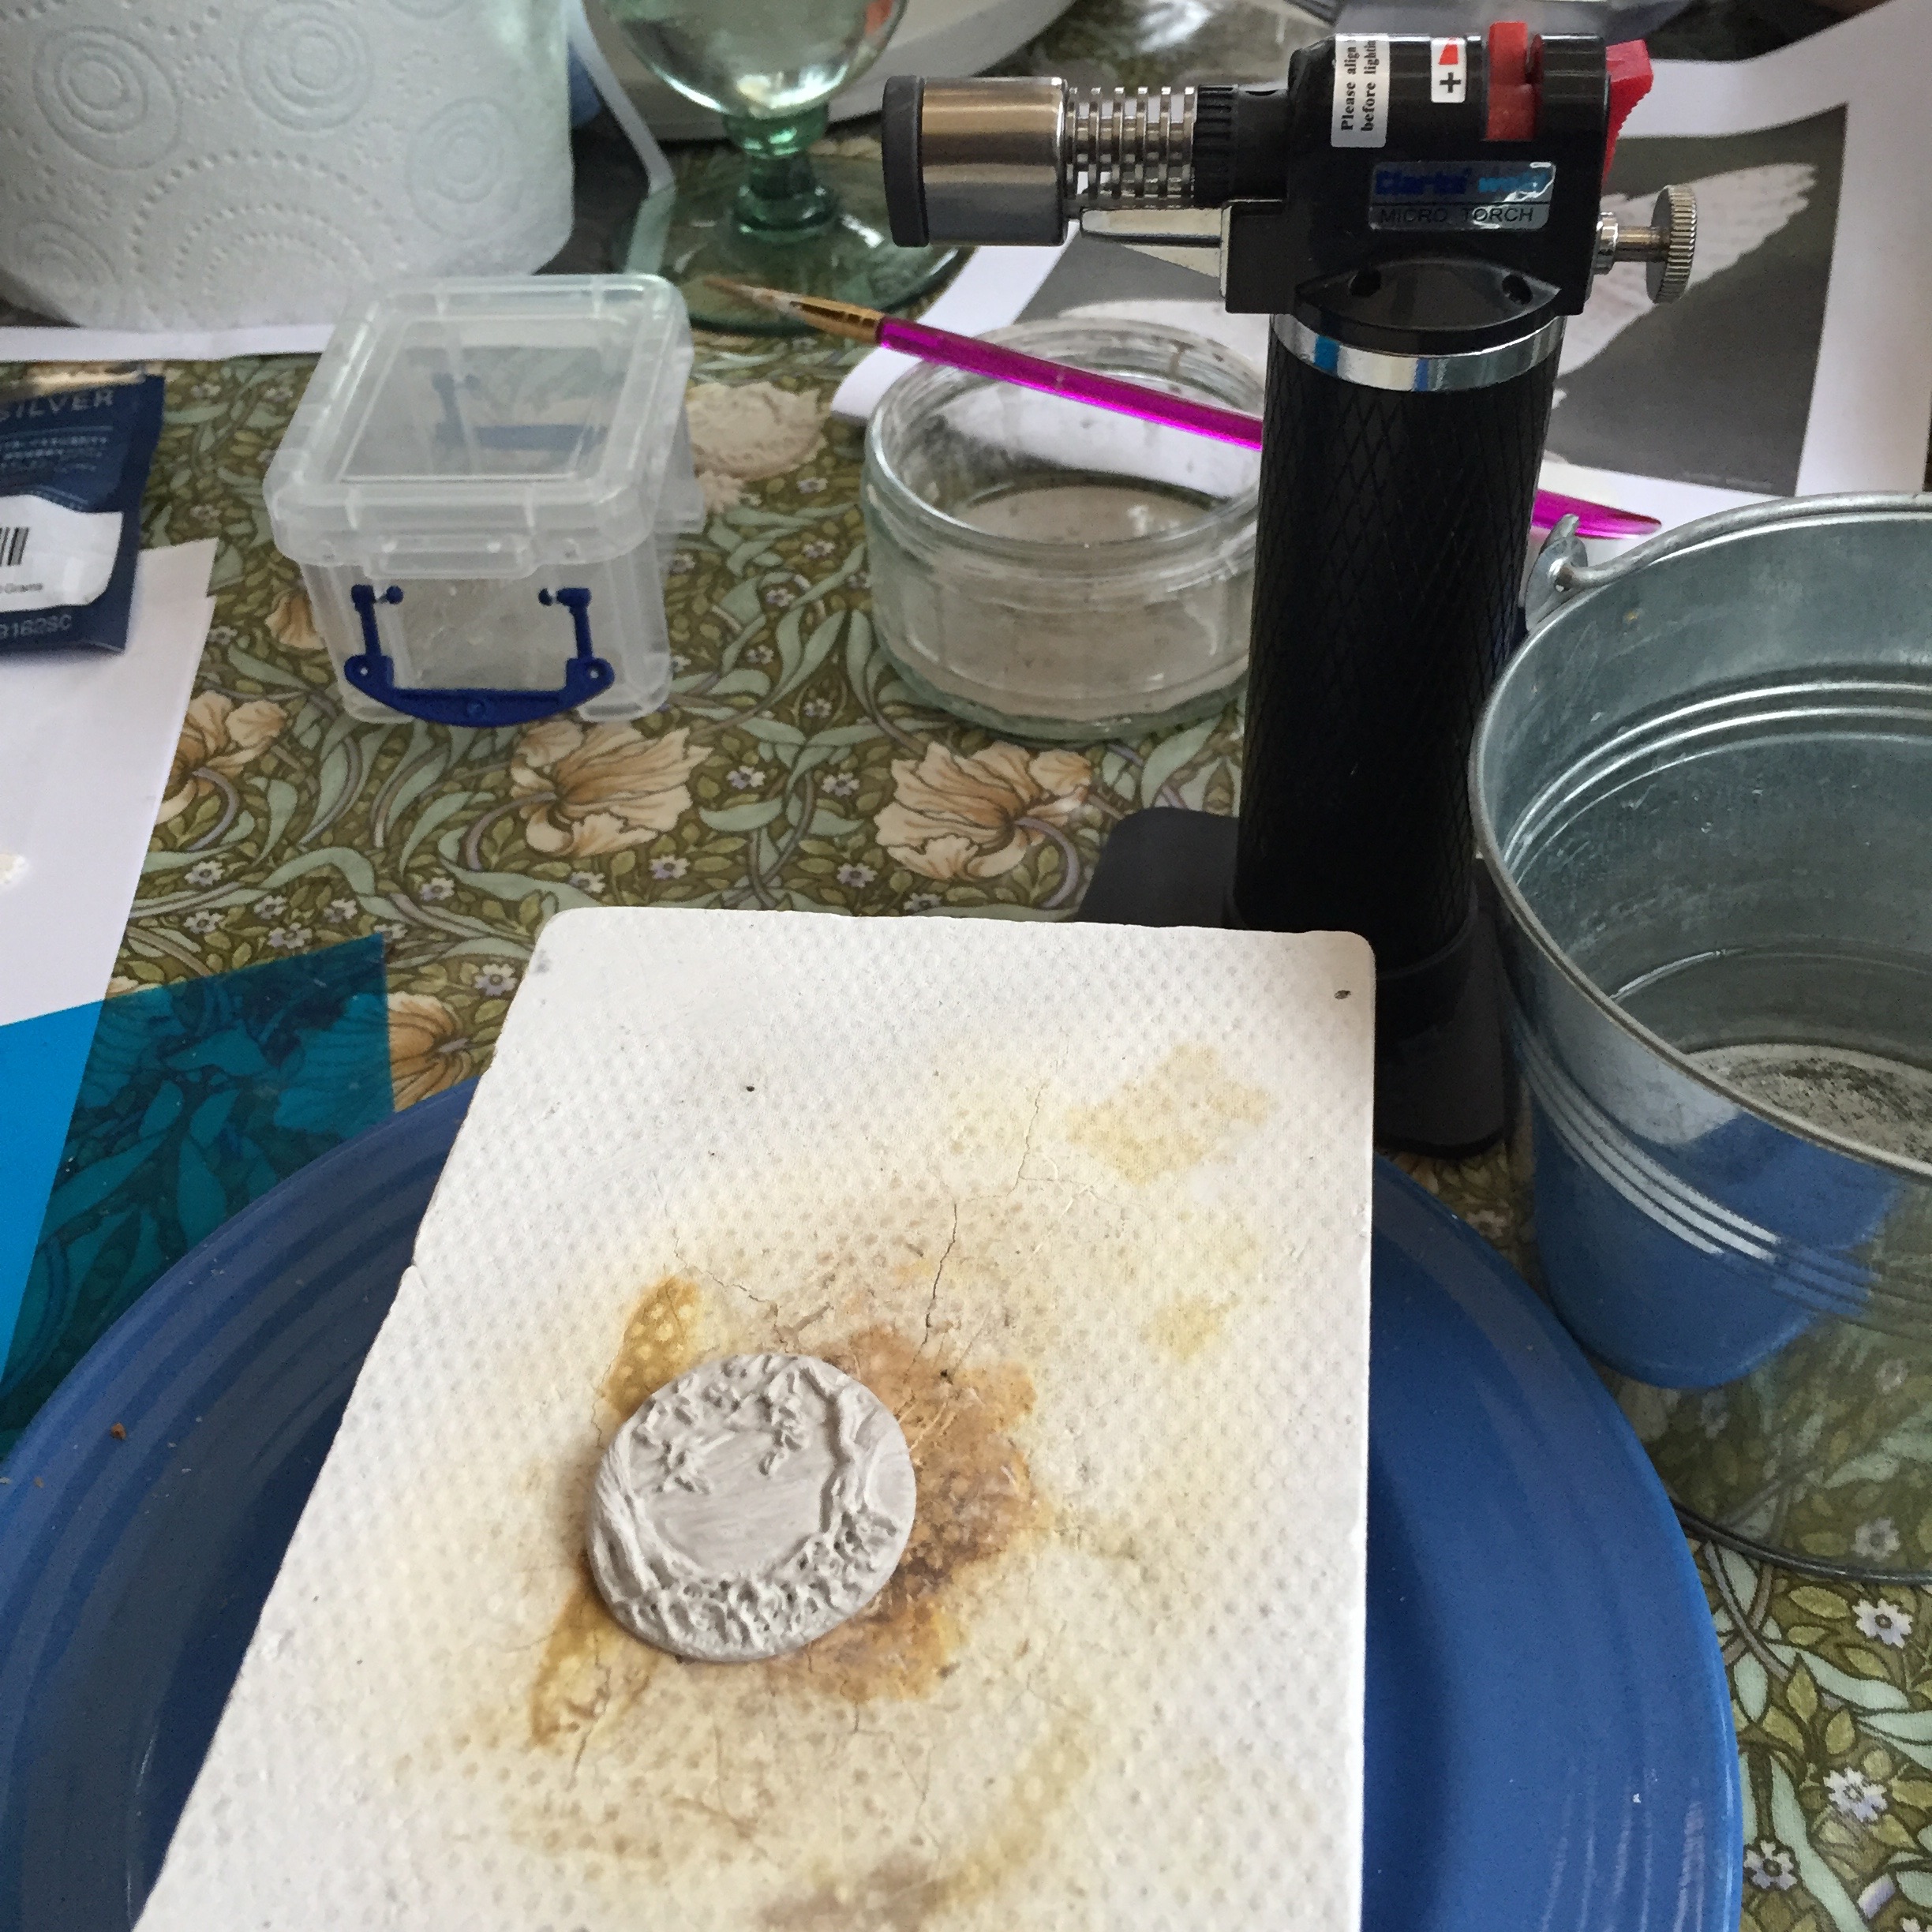
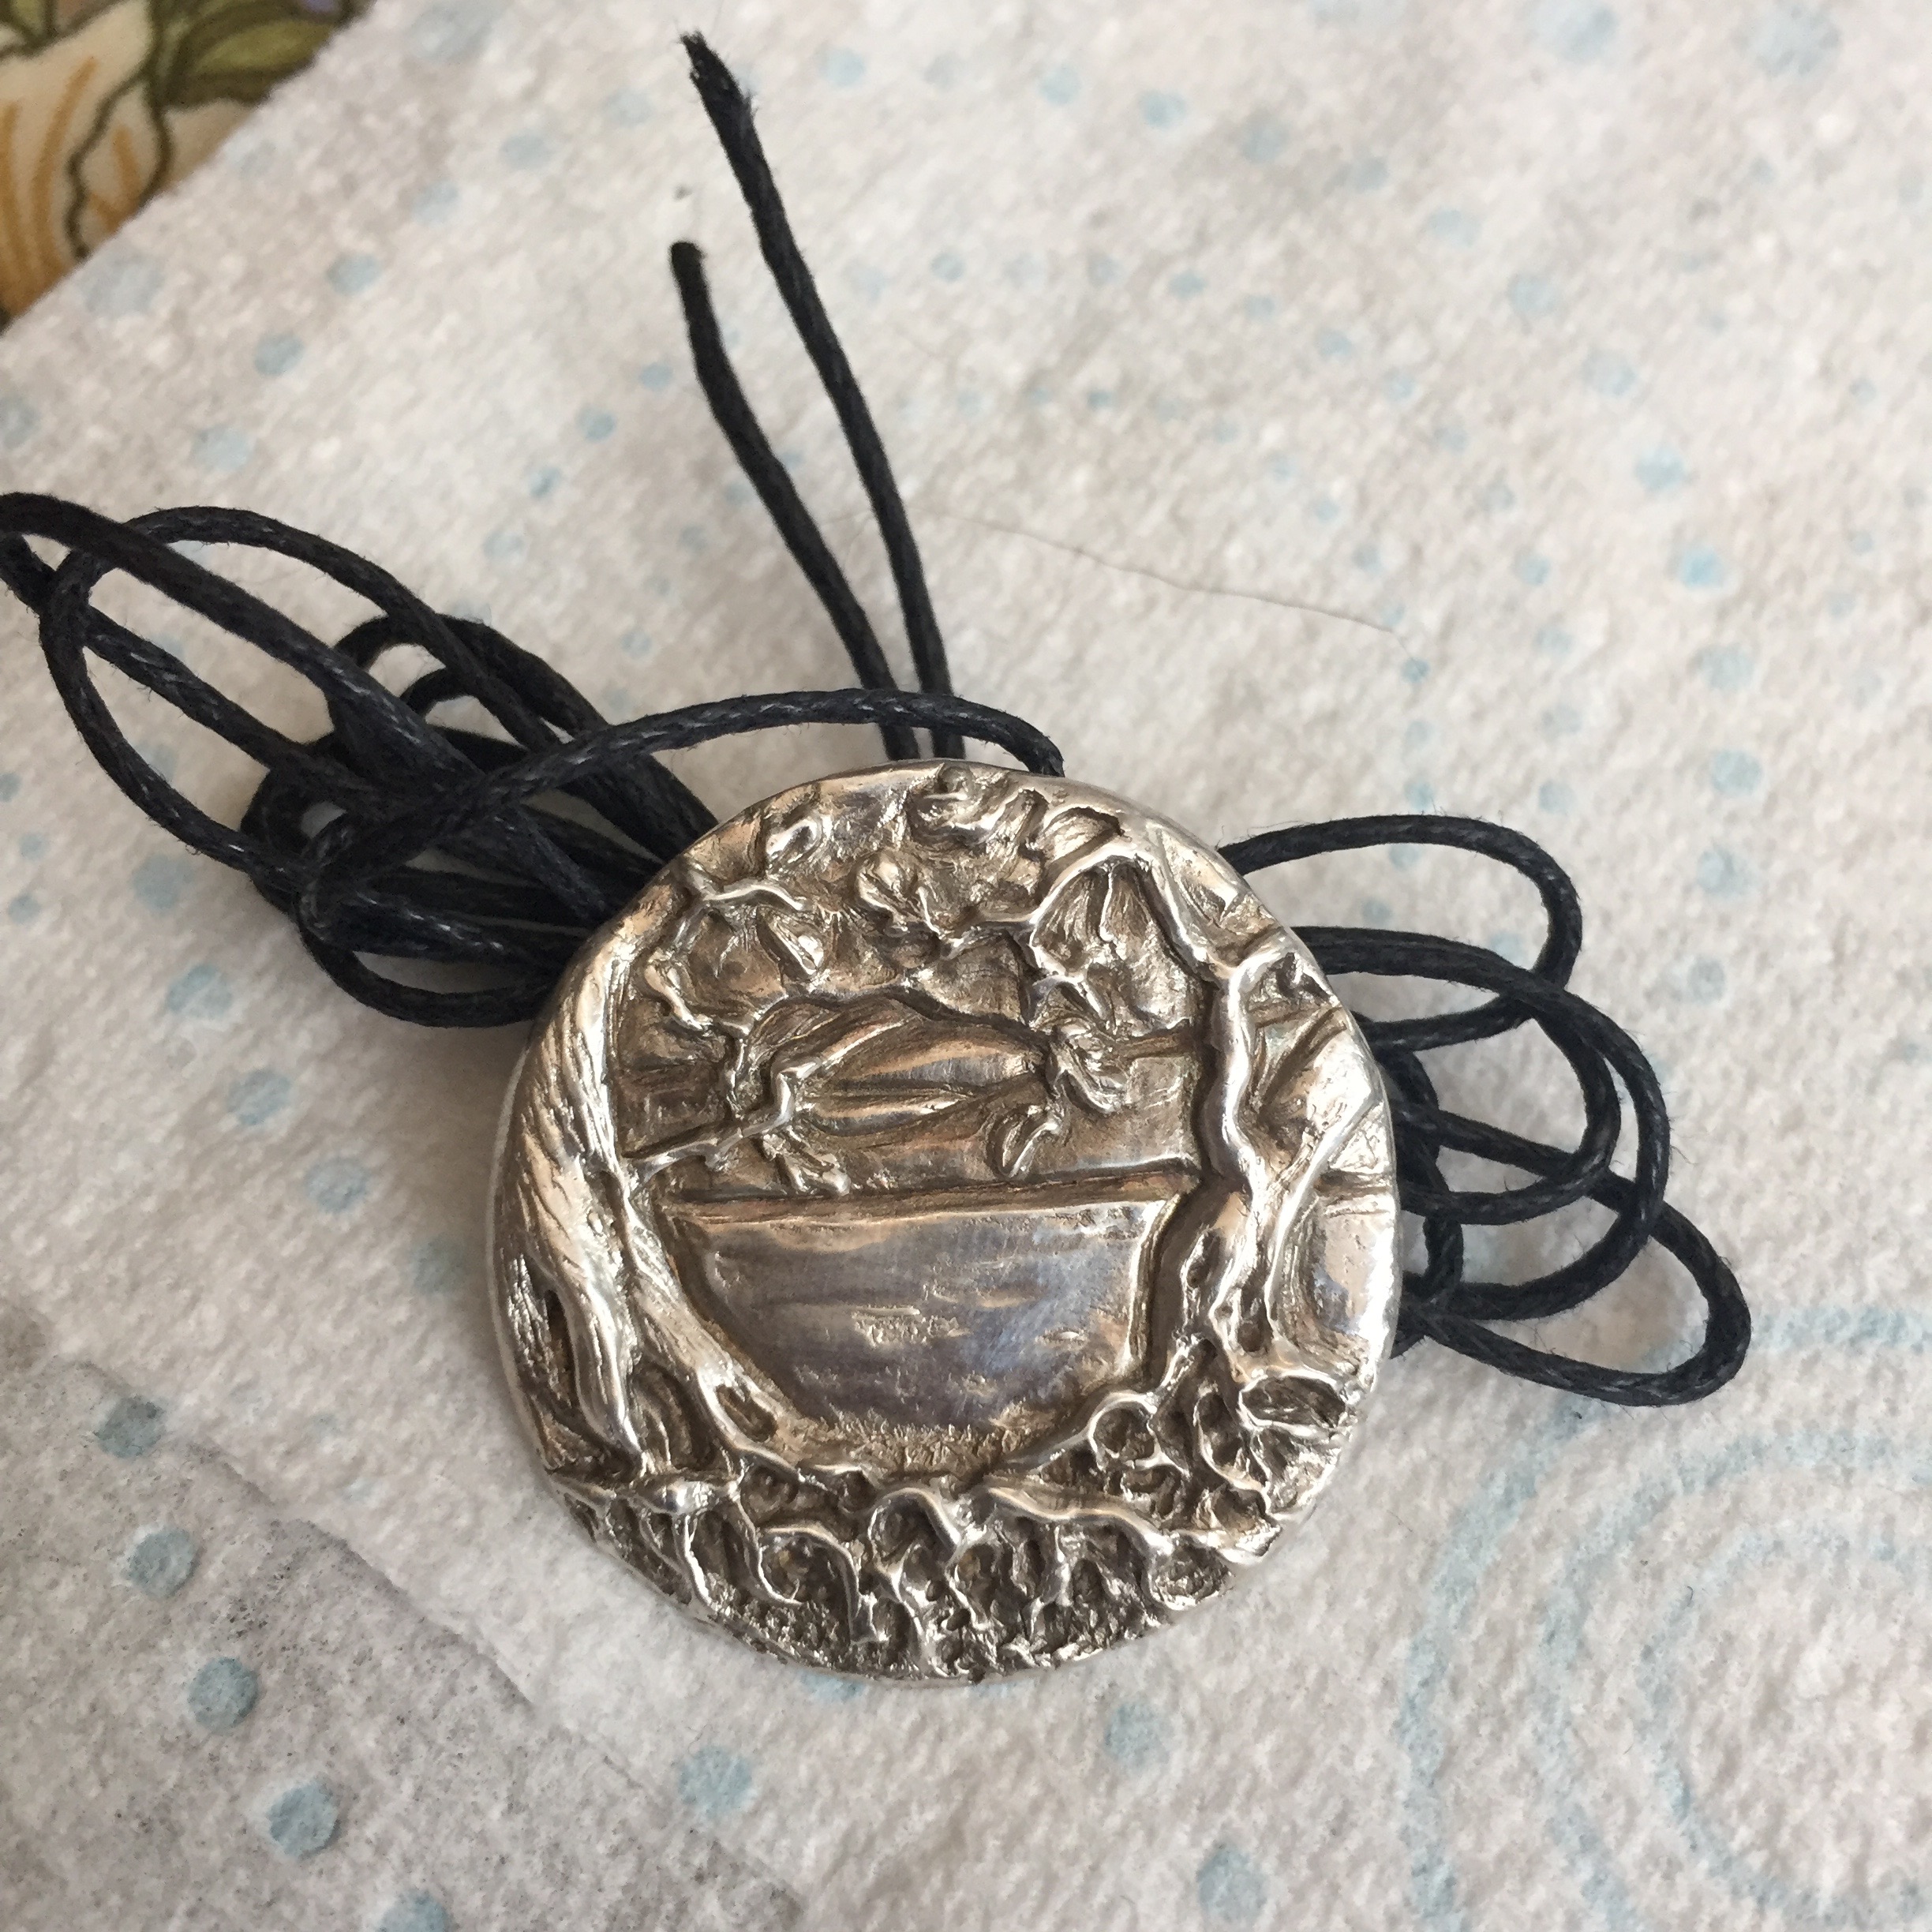
After the piece has been fired it is a matt white colour. To bring the silver up to a nice shine it then needs to be burnished with a soft wire brush, tumbled, and polished .
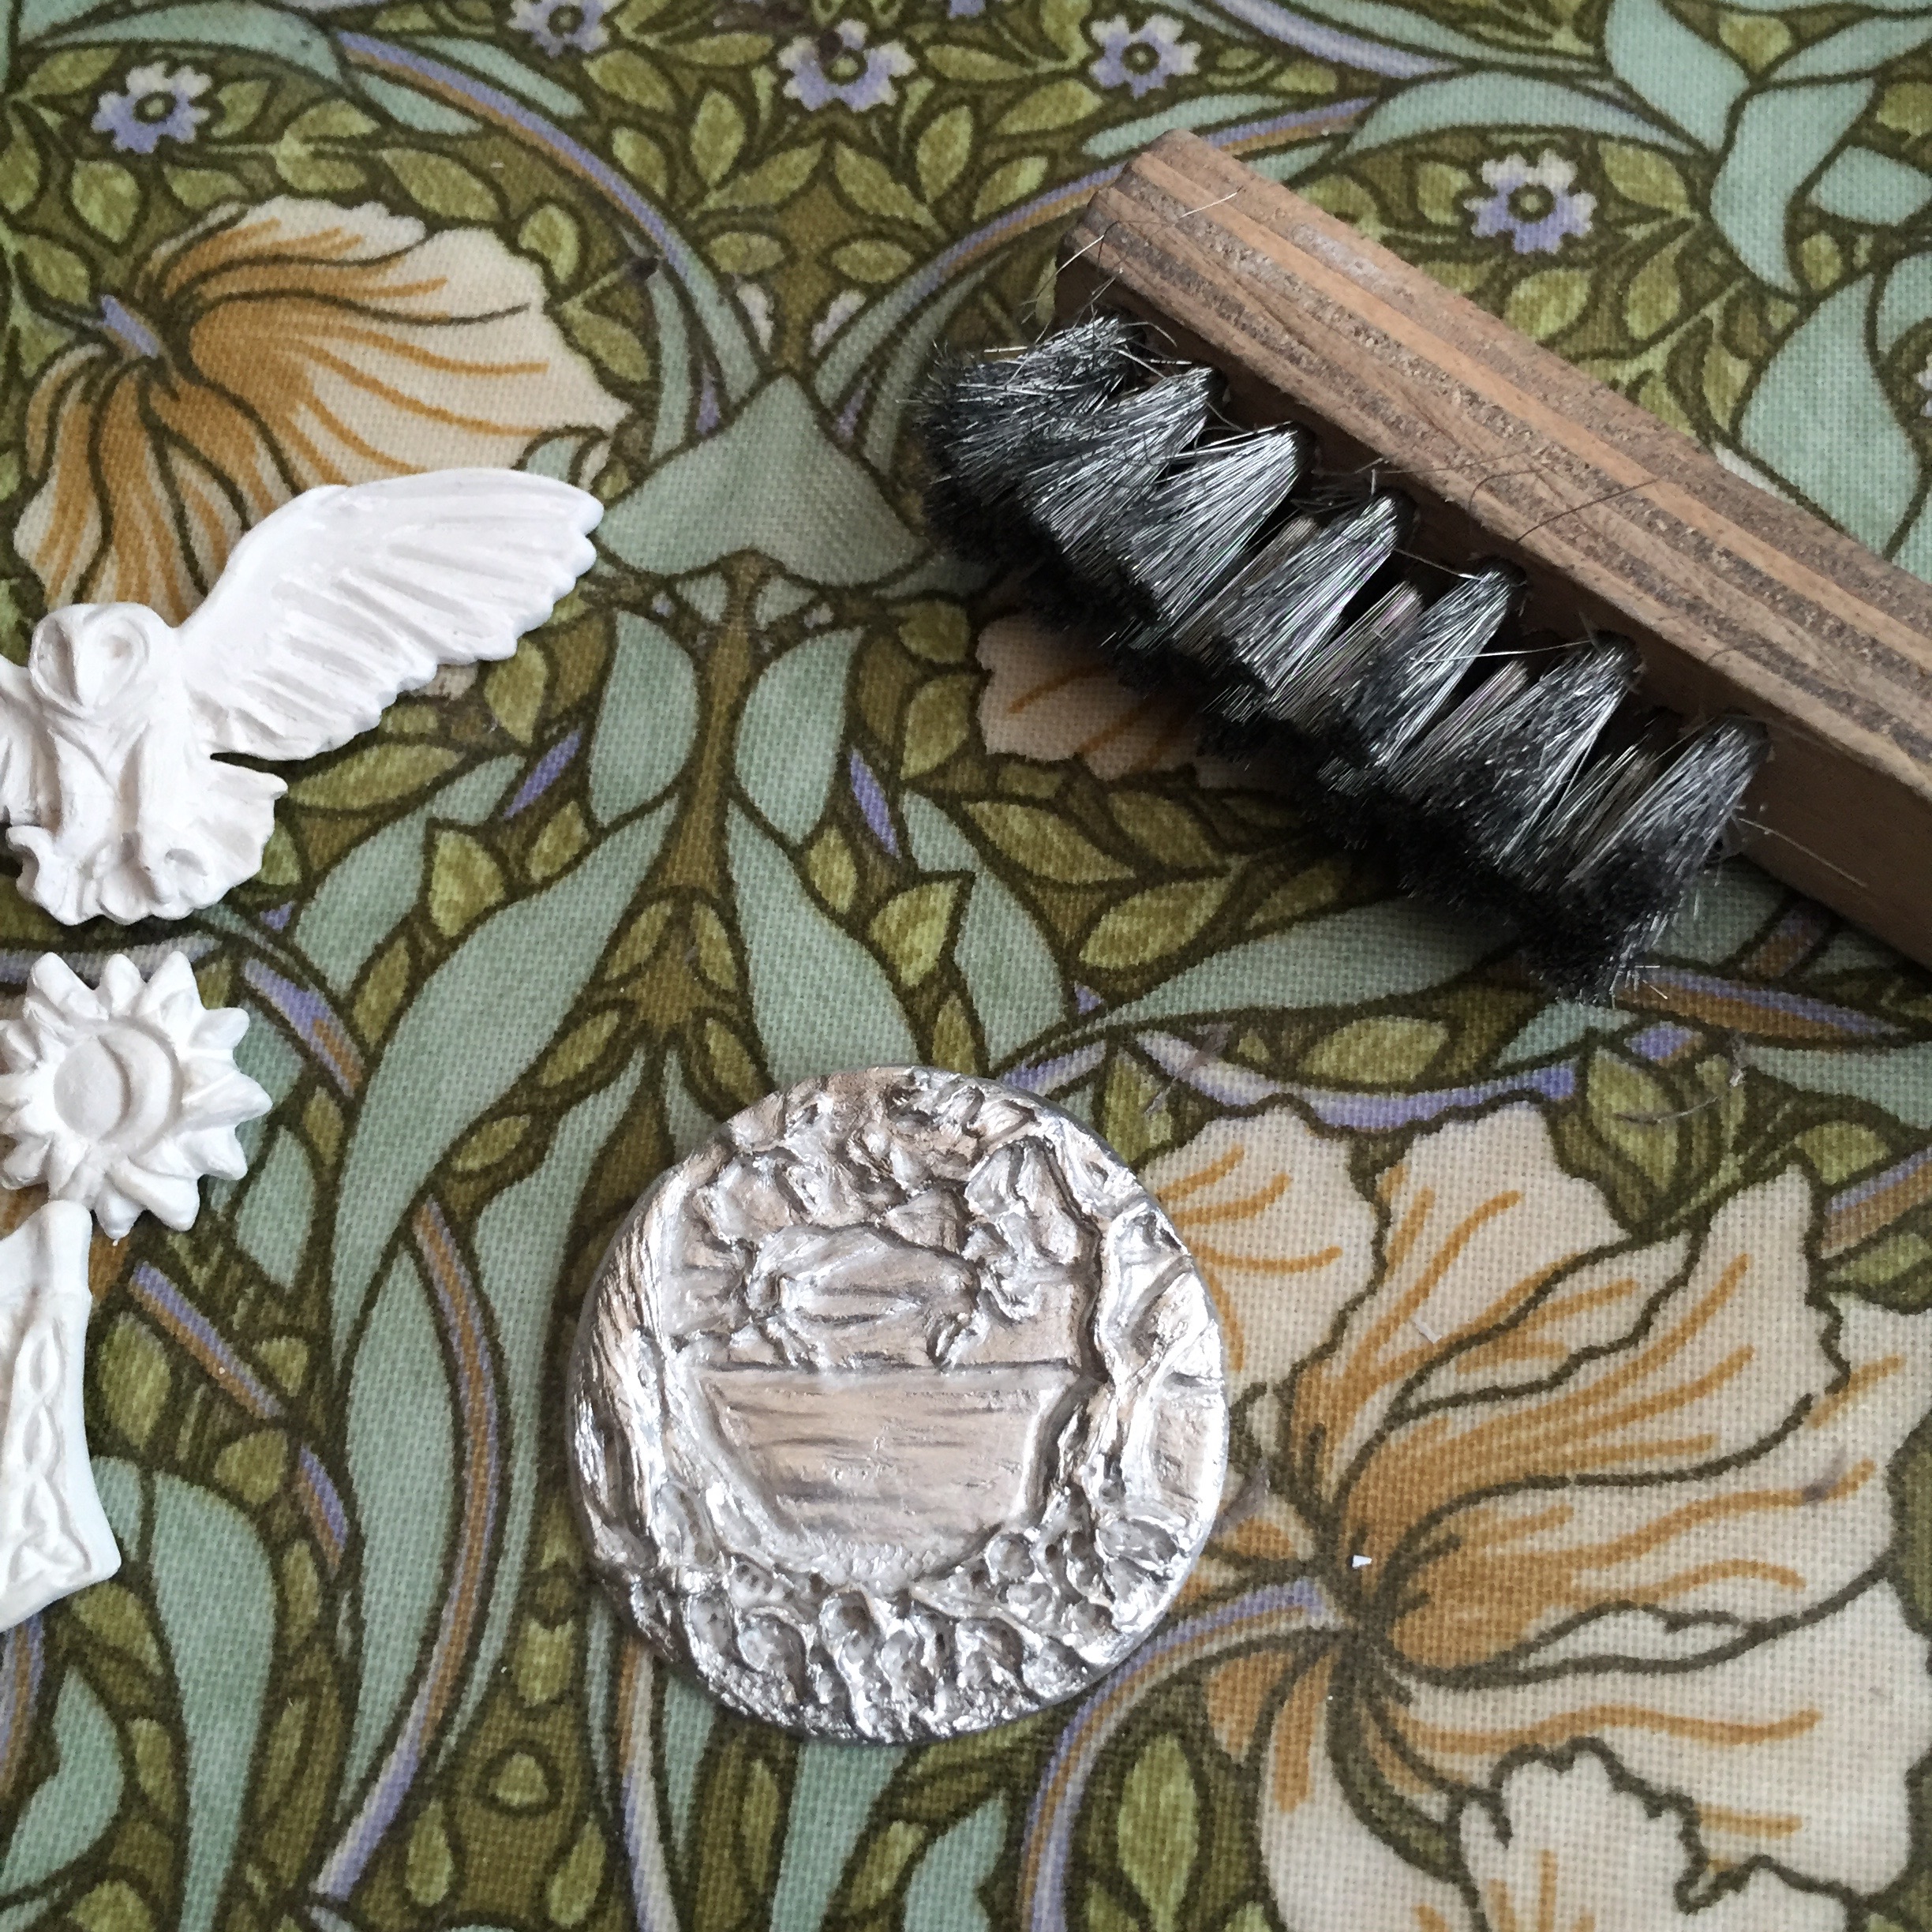
Whilst silver is very pretty shiny, it often needs something to bring out the detail, so there is a very smelly process with something called Liver of Sulfur. It smells of rotten eggs and is not much fun in a small studio space, however dipping the piece into a solution of this will apply a patina of varying hues and after a polish there is a lot more definition to the piece.

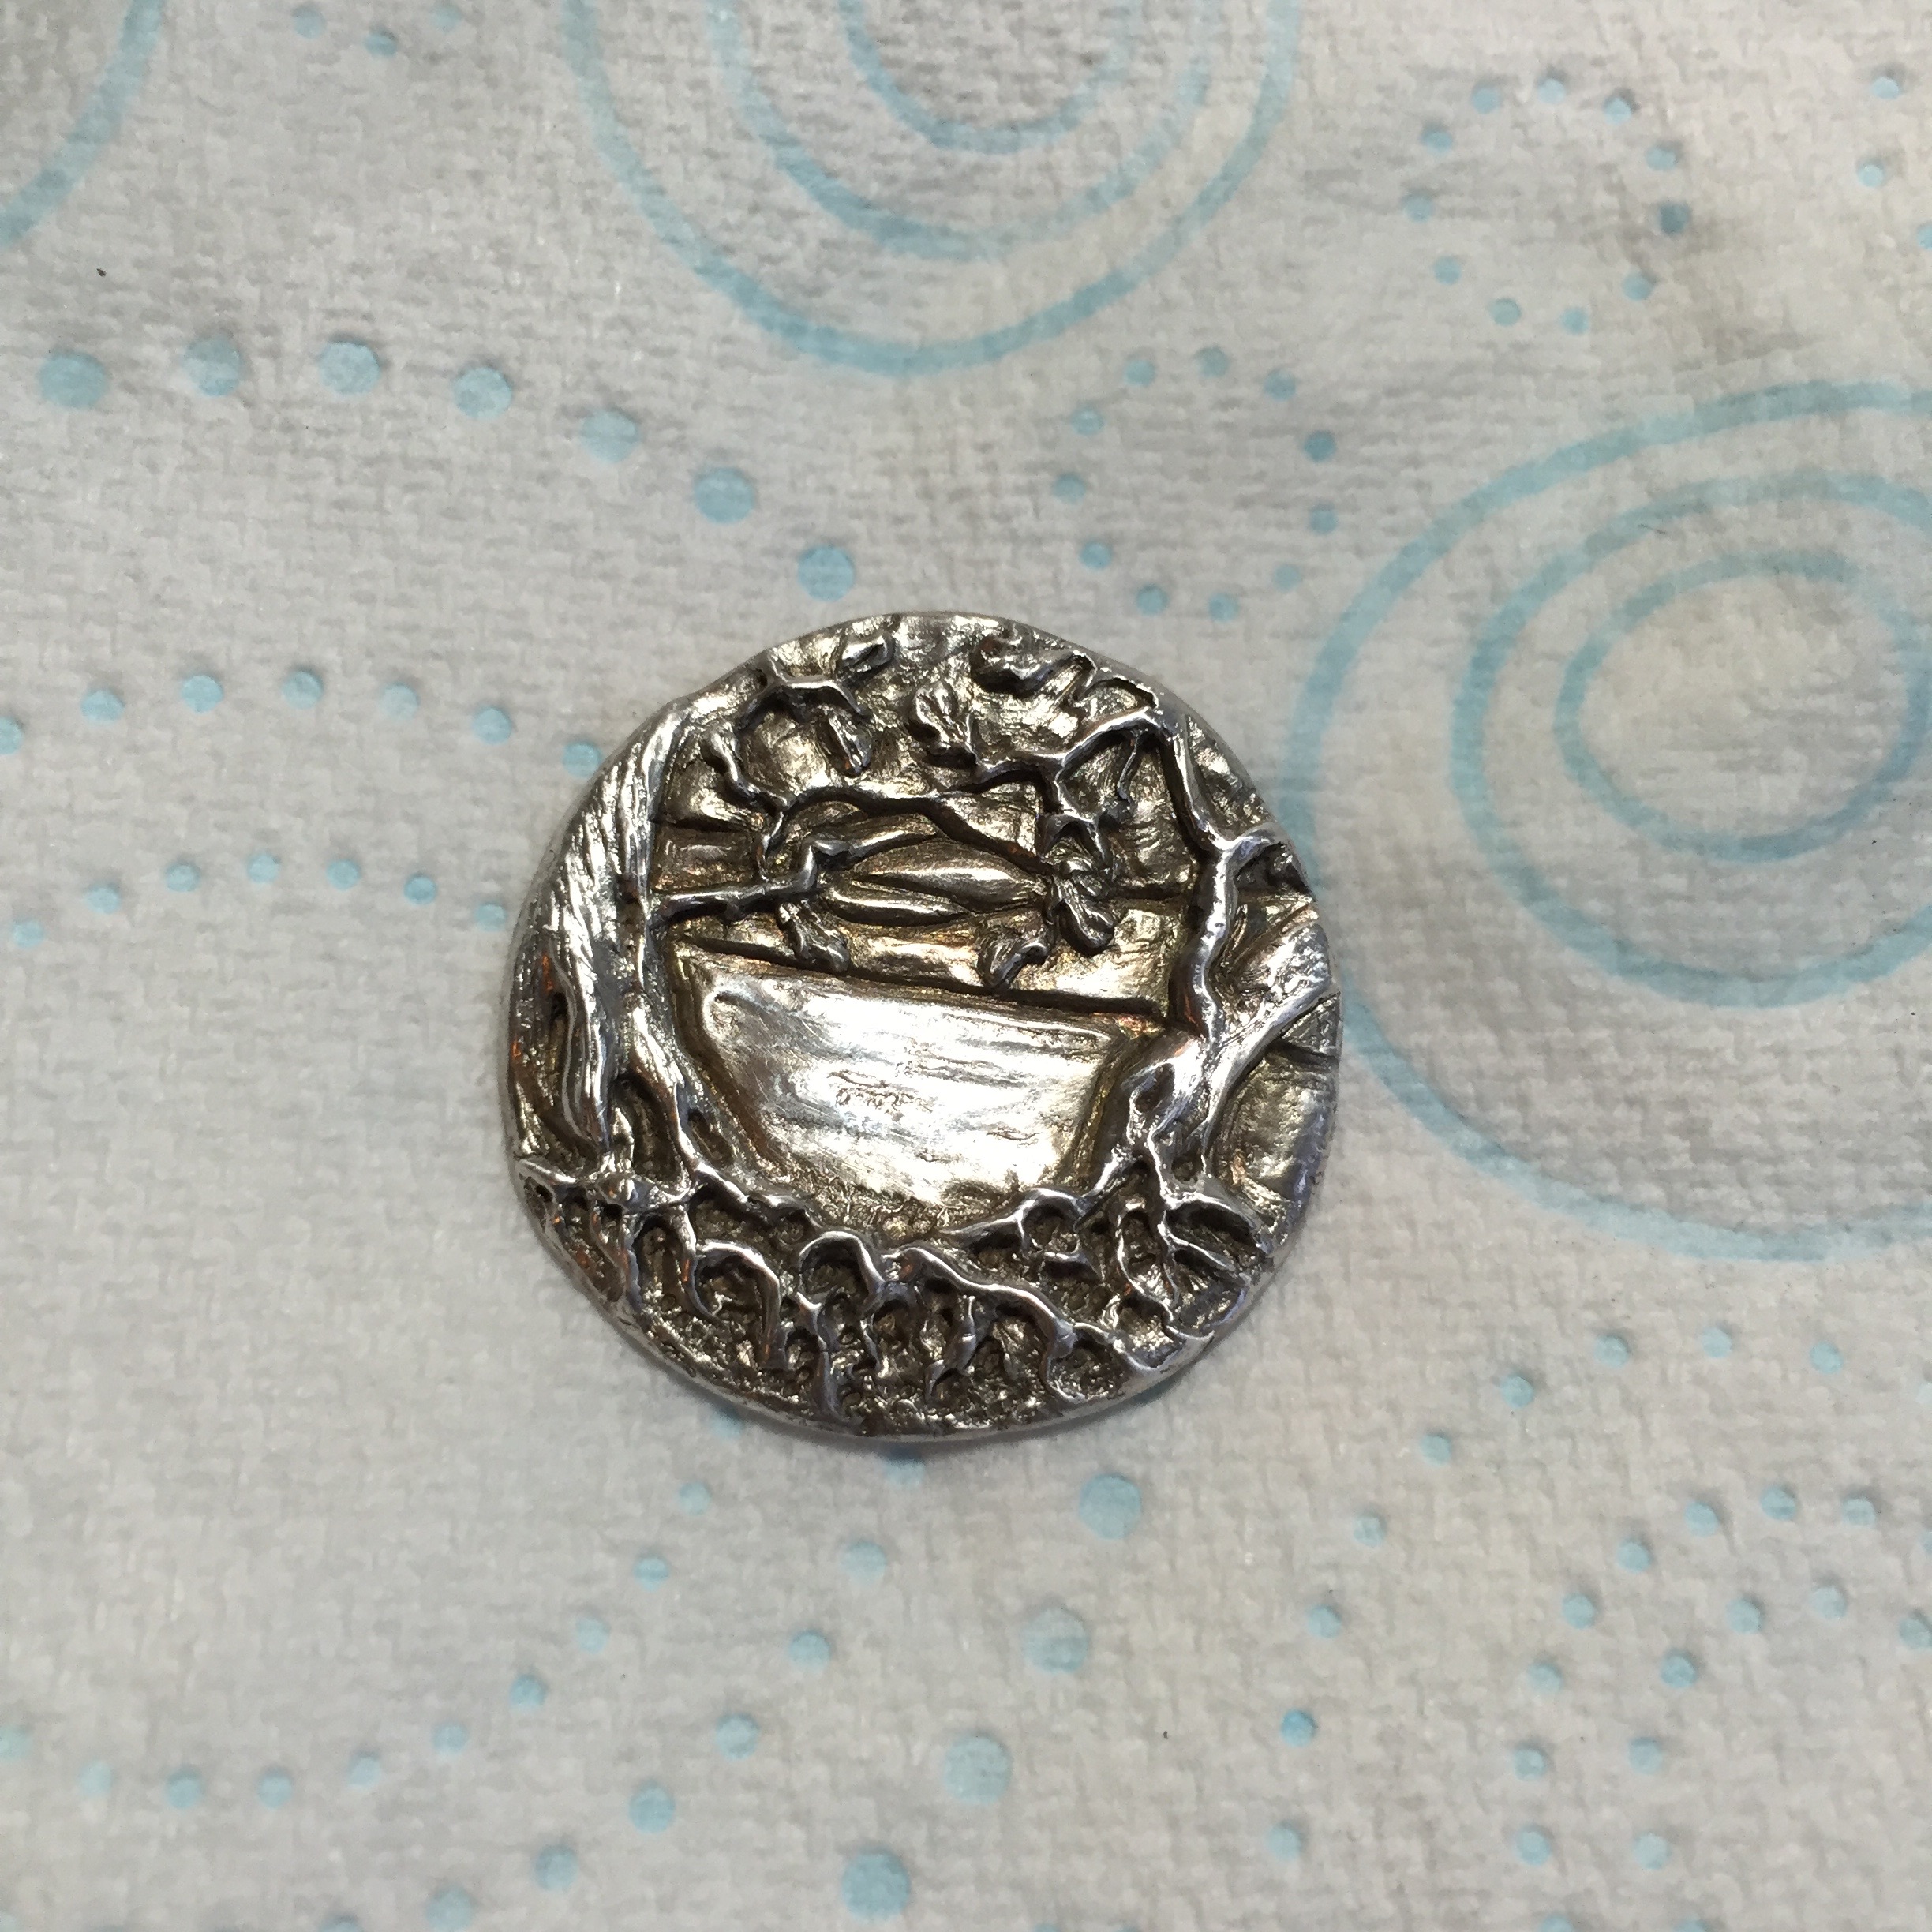
And finally, after adding something for the piece to hang on, it is finished and can wing its way to its new home.
So there we have it, the story of this particular piece is typical of many of my creations. It gives me enormous pleasure to bring ideas, thoughts, even feelings into a physical form and send them off to enjoy being part of someone’s spiritual journey. I still have much to learn, but the truth is there is always more to learn, no matter what media, and long may that be so.